UH-1B Huey
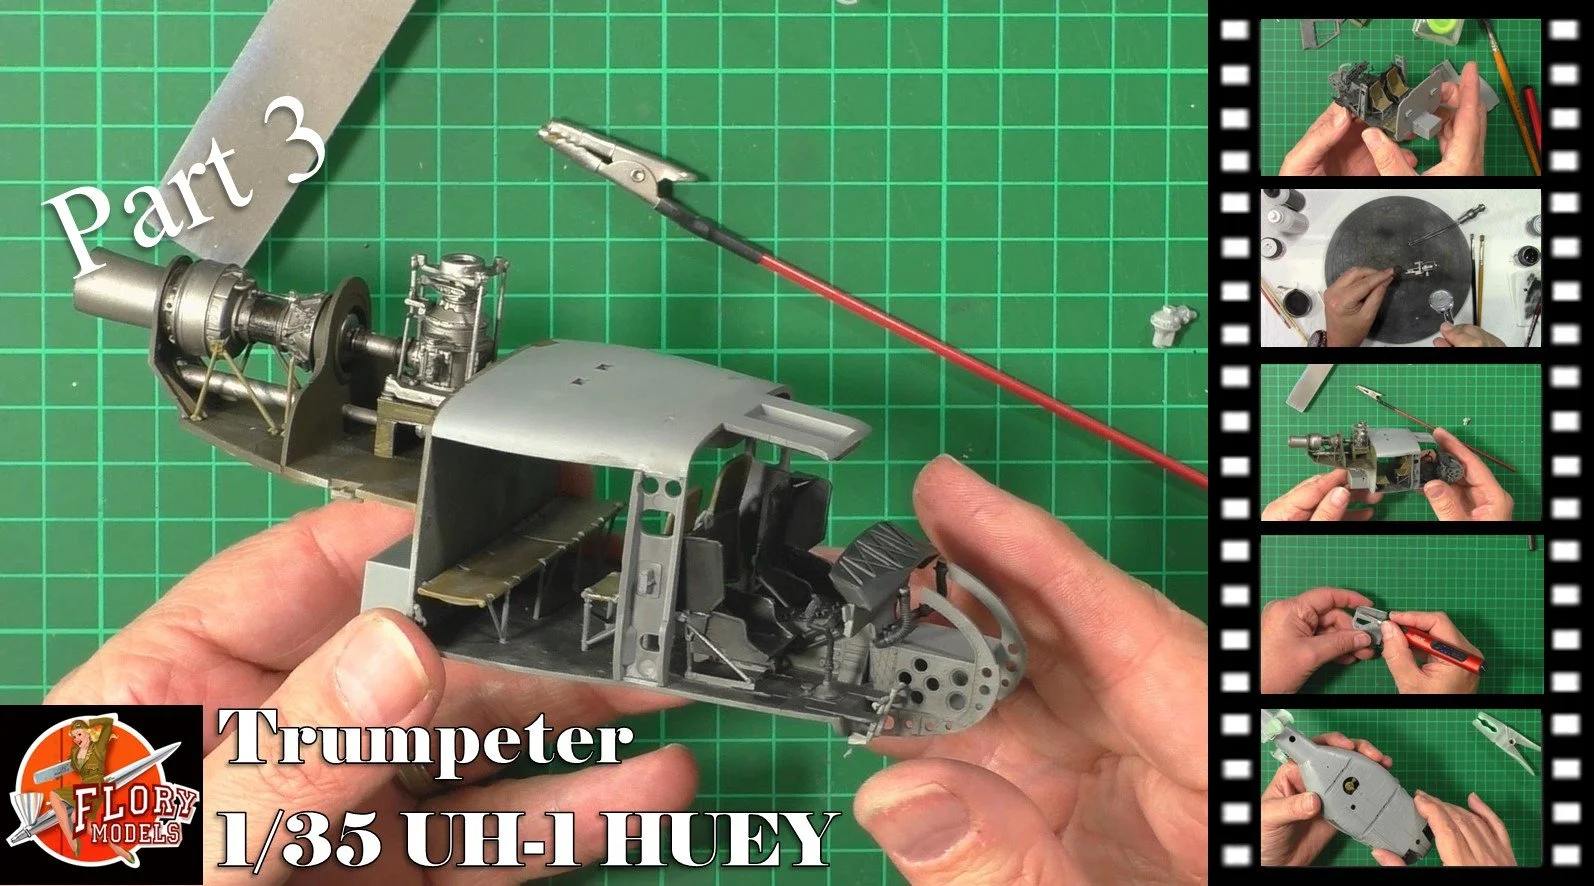
Scale: 1/35
Manufacturer: Trumpeter
Parts used: Out Of The Box
Main paints used:AK Real Colors and Tamiya
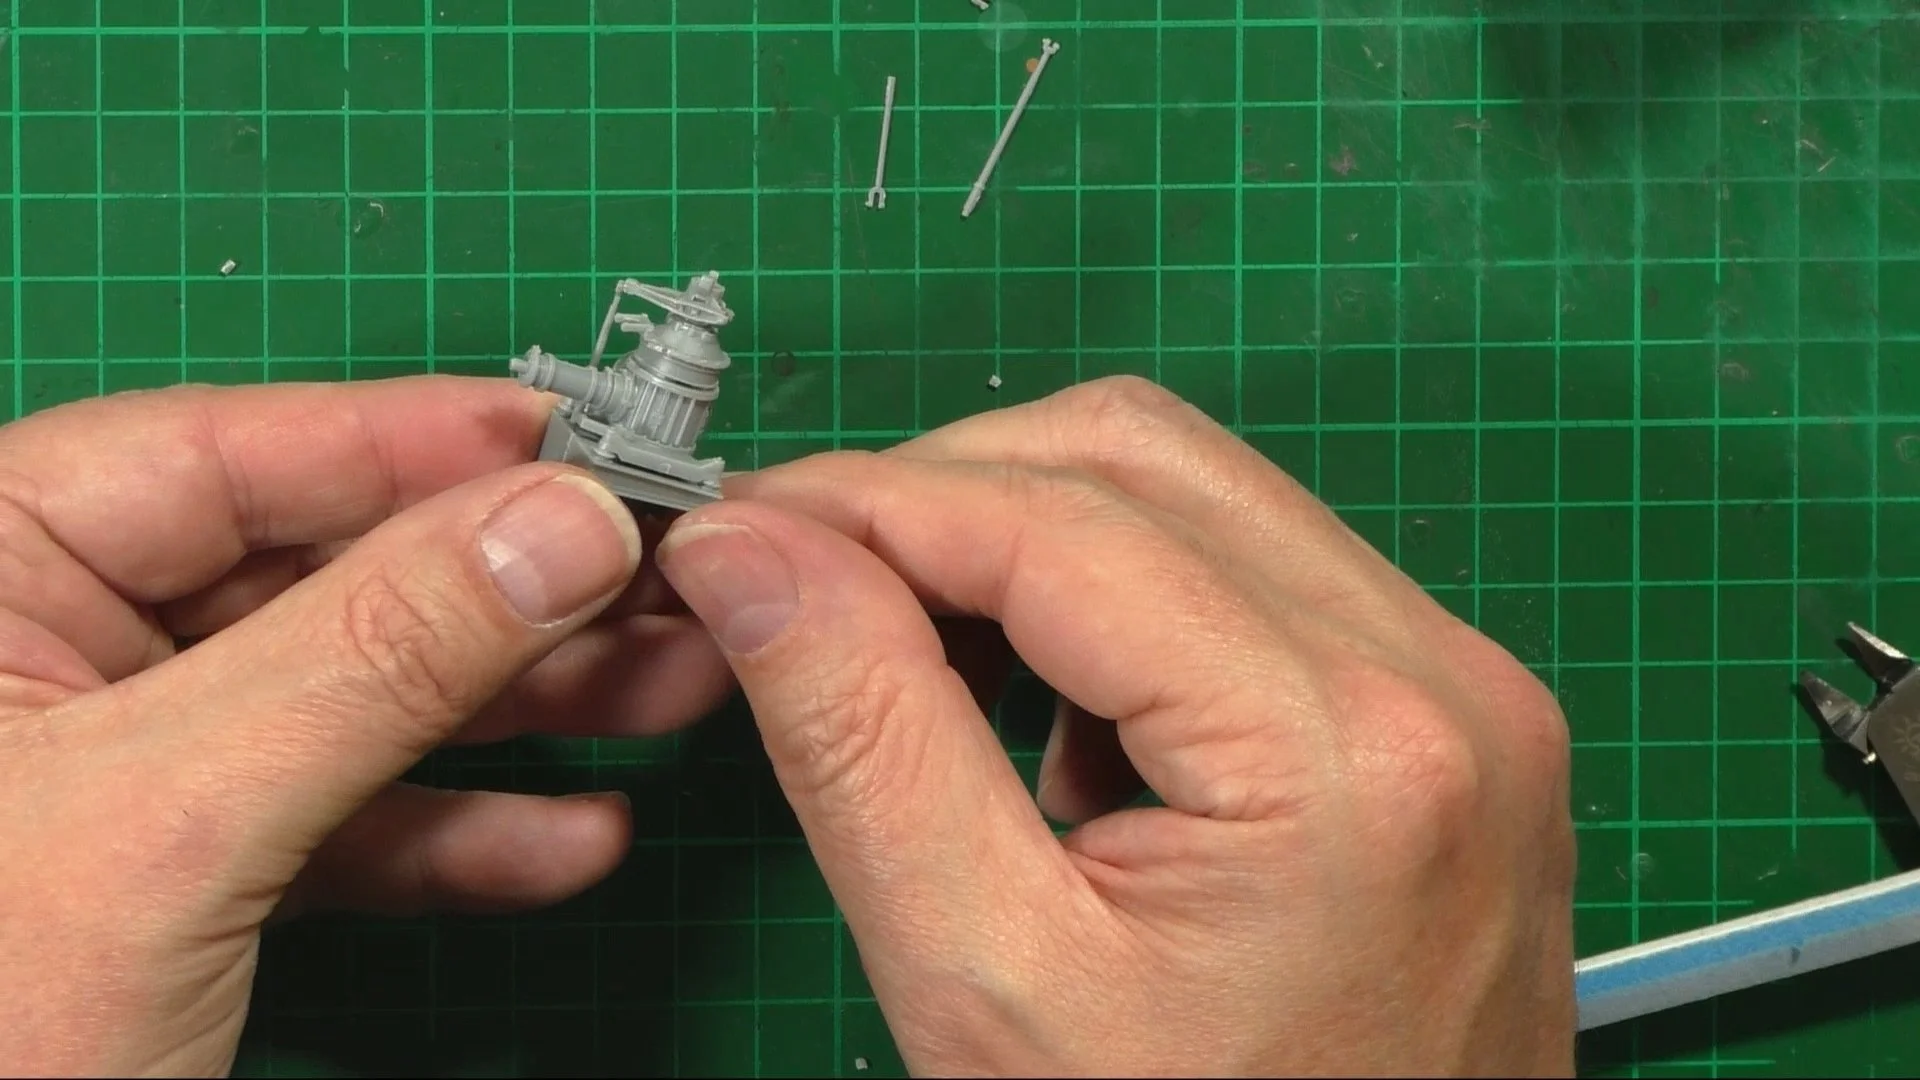
0:00 First up, we look at the build ahead of the iconic helicopter 1:34 To start, we work our way through the cockpit build. 16:15 With the cockpit ready for painting, we move on to the engine and gearbox. 36:55 We mock up the engine bay and decide to open it up to show it off.

0:00 To start, we paint all the interior with Tamiya XF-54 Grey. 4:26 Once it's all dry, we use markers for all the black work, seat's and canvases with olive drab. 12:20 Next we use the supplied decal for the instrument panel. The trick here is to get it to conform to the texture and bed down fully with no silvering. To help with that, we use 4 to 5 coats of decal setting solution. 15:19 With the decal down and looking good, we brush a coat of matt varnish over to finish it off. Next, we drybrush everything with light grey oil paint. 26:55 Last up, we give everything a wash with weathering pencils and oils.

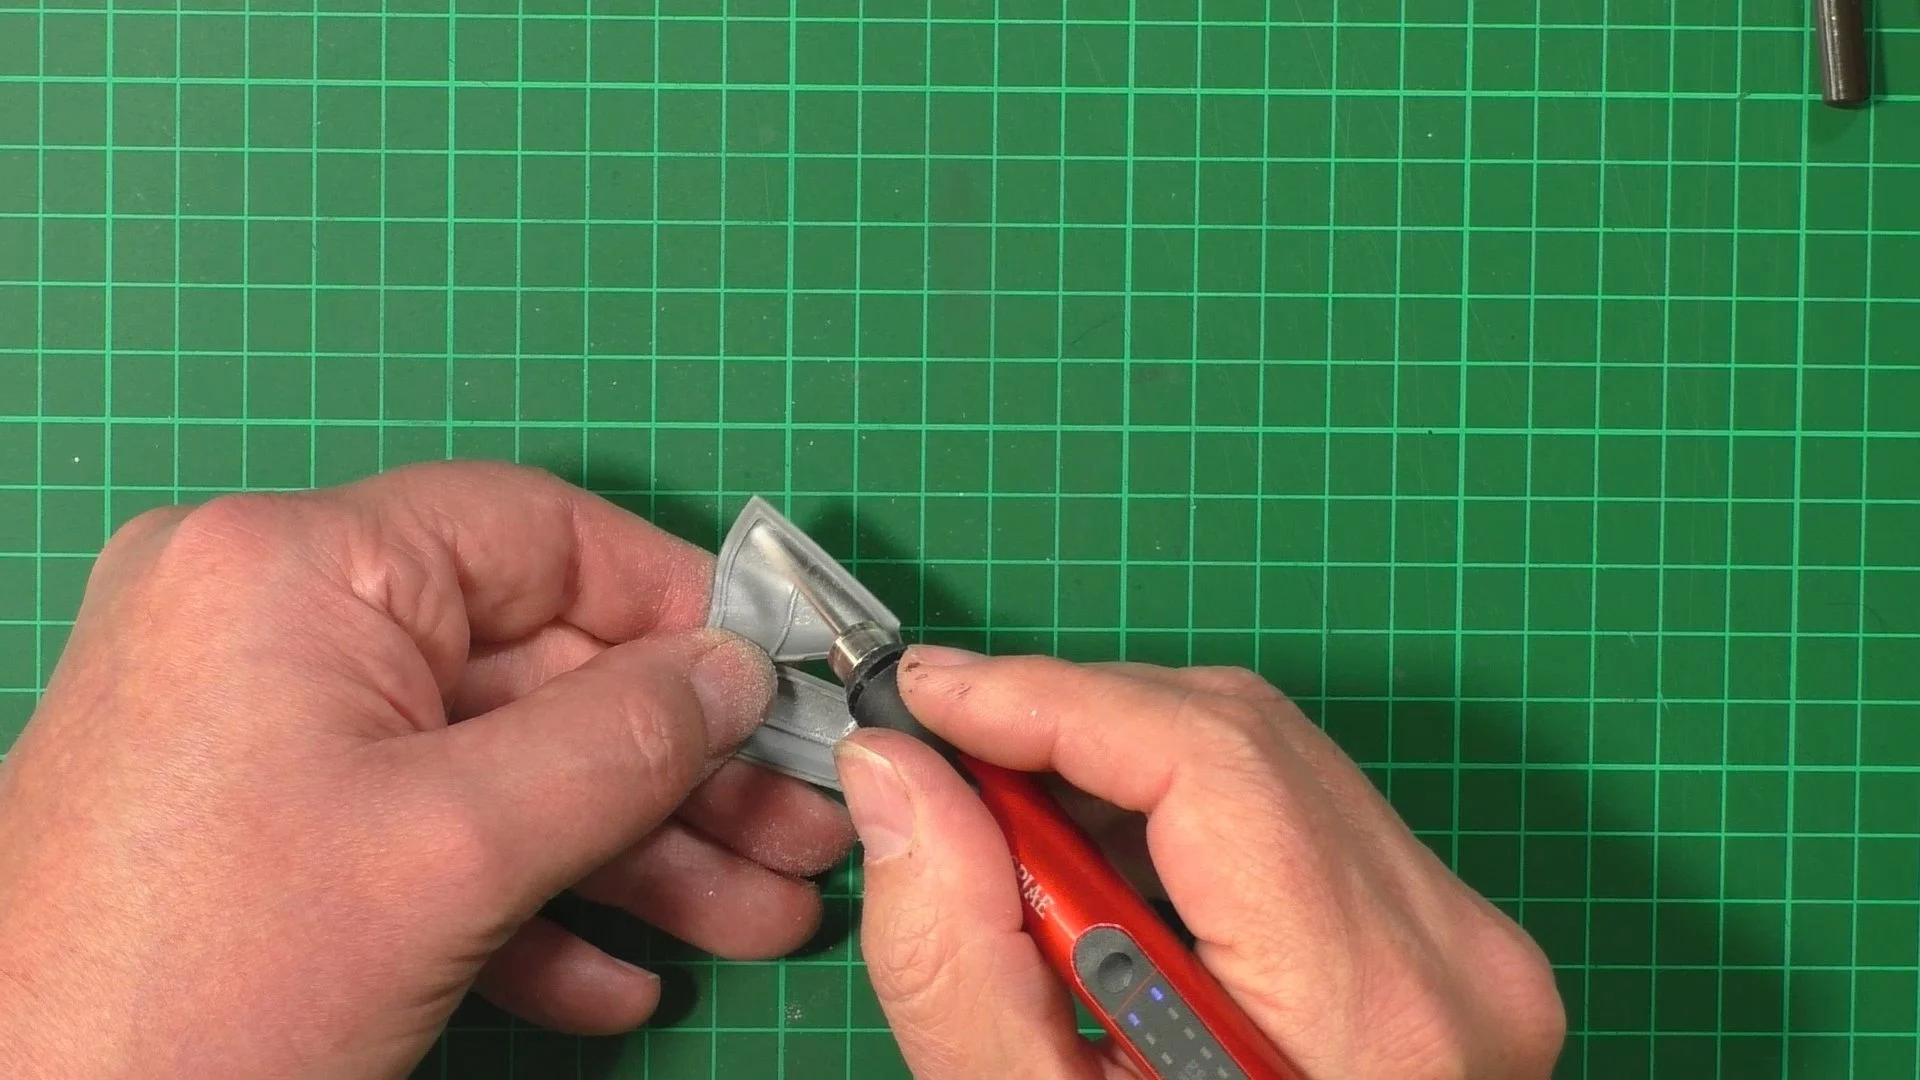
0:00 To start, we use POSCA pens to pick out the metal and colored buttons and switches around the cockpit. We then give everything this an oil wash to start the weathering. 16:18 Here we paint the engine with SM203 Super Iron and Tamiya LP-61 17:28 Next we give the engine an oil wash and then remove the ejector pin marks for the engine cover doors 25:37 With the oil wash dried on the engine, we install it in place. 34:13 Last up, it's time to install the cabin area into the fuselage halves.
00:00 First, we install the Photo-etched grills on the engine doors. 04:44 Next, it's time to glue the forward section of the fuselage together. For this, we use CA glue and kicker to instantly tack in place and then use extra thin to weld it all together. 15:42 Here, we scrap and sand all the seam lines and glue marks out. 25:23 Lastly, for now, we install all the small intakes and lights in place and install the glass work in place.

0:00 To start, we make some harnesses out of some old leftover harnesses, by cutting and changing the parts, we make some convincing-looking details. 10:50 Next, we use AK Real colors clear green to tint the overhead windows. 16:17 With the clear parts all installed, we mask up and use the provided mask set. 25:12 Here we put the main rotor together and fill, sand and make good the seam lines.

0:00 In this part, we move into the spray booth and apply a coat of Aqueous surfacer primer, mixed 40.60 with Lacquer Rapid thinners over the model. 5:01 Here we spray on the yellow bands on the tail and main rotors. 10:25 Next we mask up the yellow bands ready for painting. 12:33 Now it's time to paint on the main olive drab color. We add a drop of yellow into the mix to lighten the color a little. 22:04 Next we lighten the drab again with more yellow to start the weathering by giving a faded look.

0:00 To start of, we look at and mask up the black anti-glare panel on the nose of the Huey. 2:17 We move over to the spray booth and paint the nose black with Tamiya XF-85 Rubber black. WE then paint the yellow bands on the rotors and tail. 5:50 Here we unmask and look at the tail and rotors before putting a coat of Hataka Clear gloss over the model, ready for decaling. 10:58 With the gloss coat clear, we use the kit decals and Micro Set and Sol to settle the decals down. 1:29:45 With the decals down, we next put a flat coat of AK Matt varnish over the entire model, ready for weathering.