Space 1999 ‘‘Eagle Transporter’’
Scale: 1/96
Manufacturer: MPC
Parts used: Out Of The Box
Main paints used: Real Color, Xtream Metals
MPC 12'' Eagle Transporter Part 1
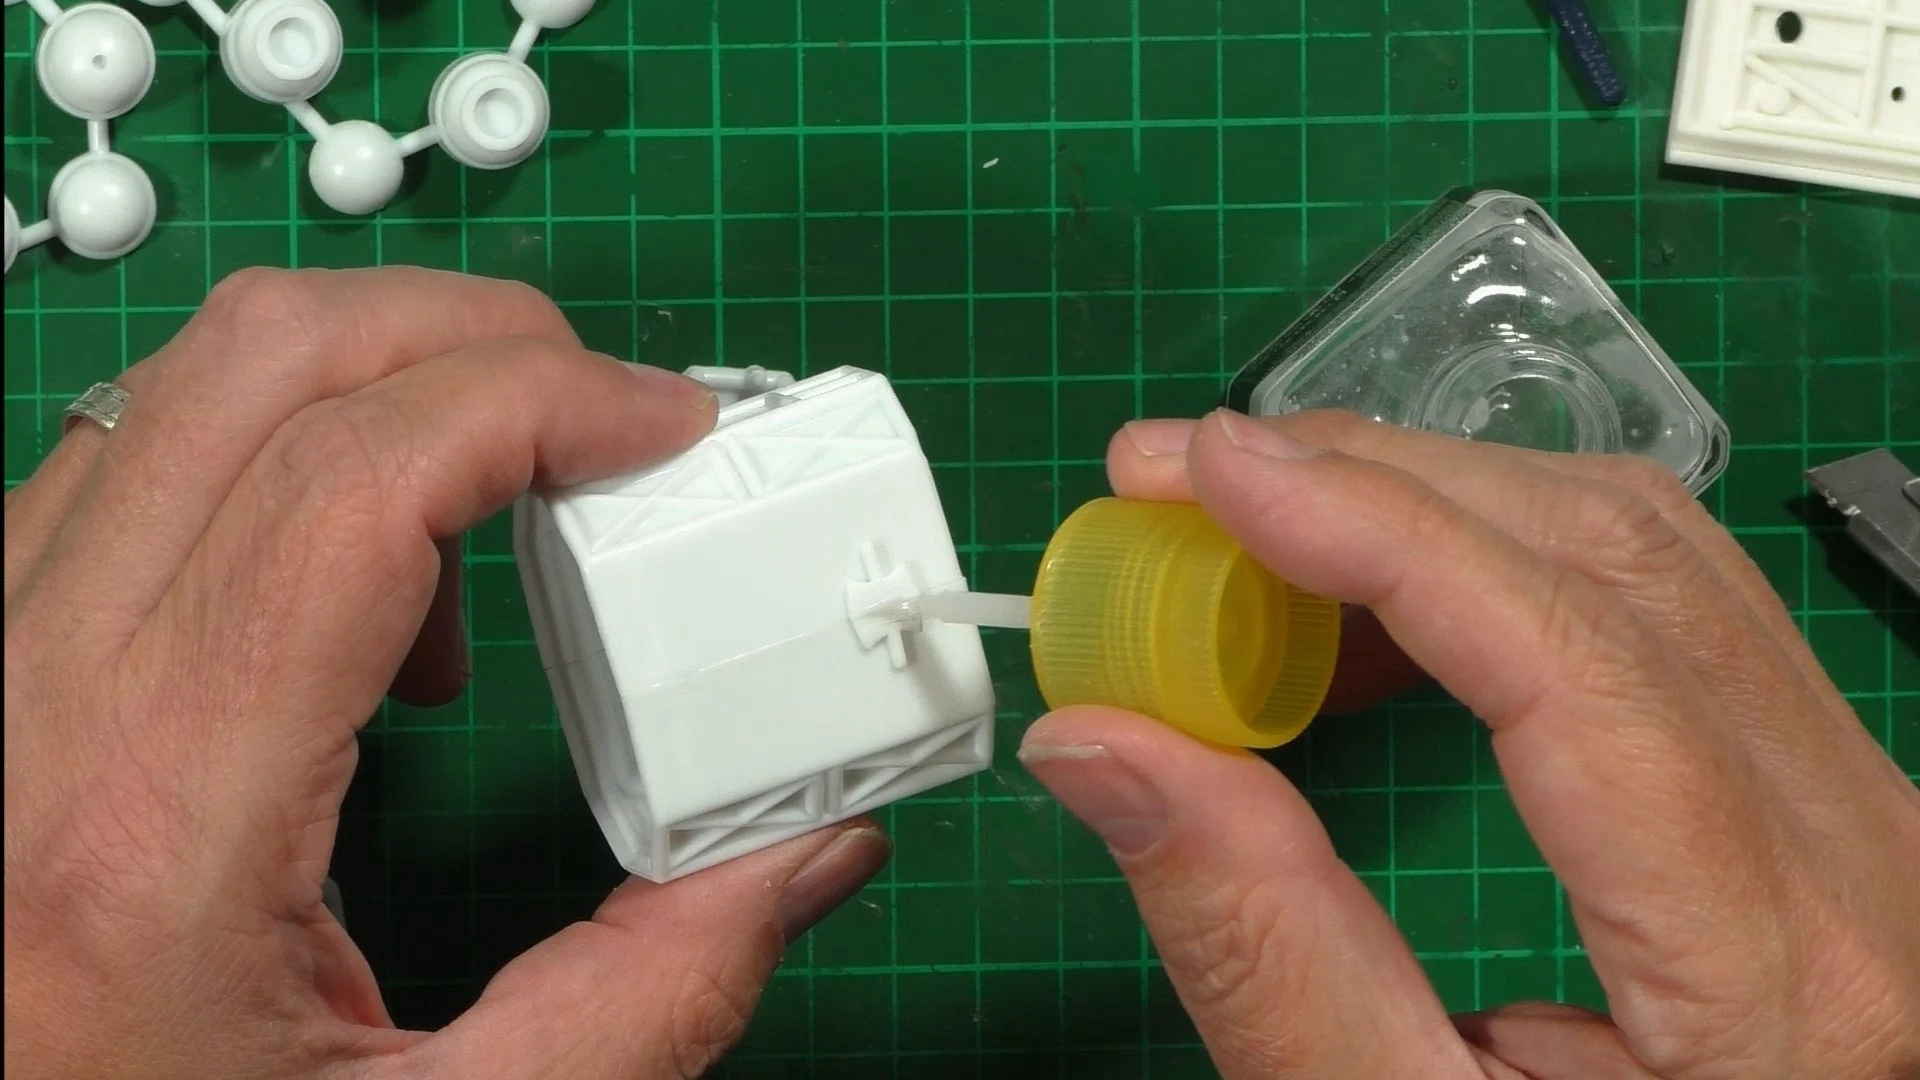
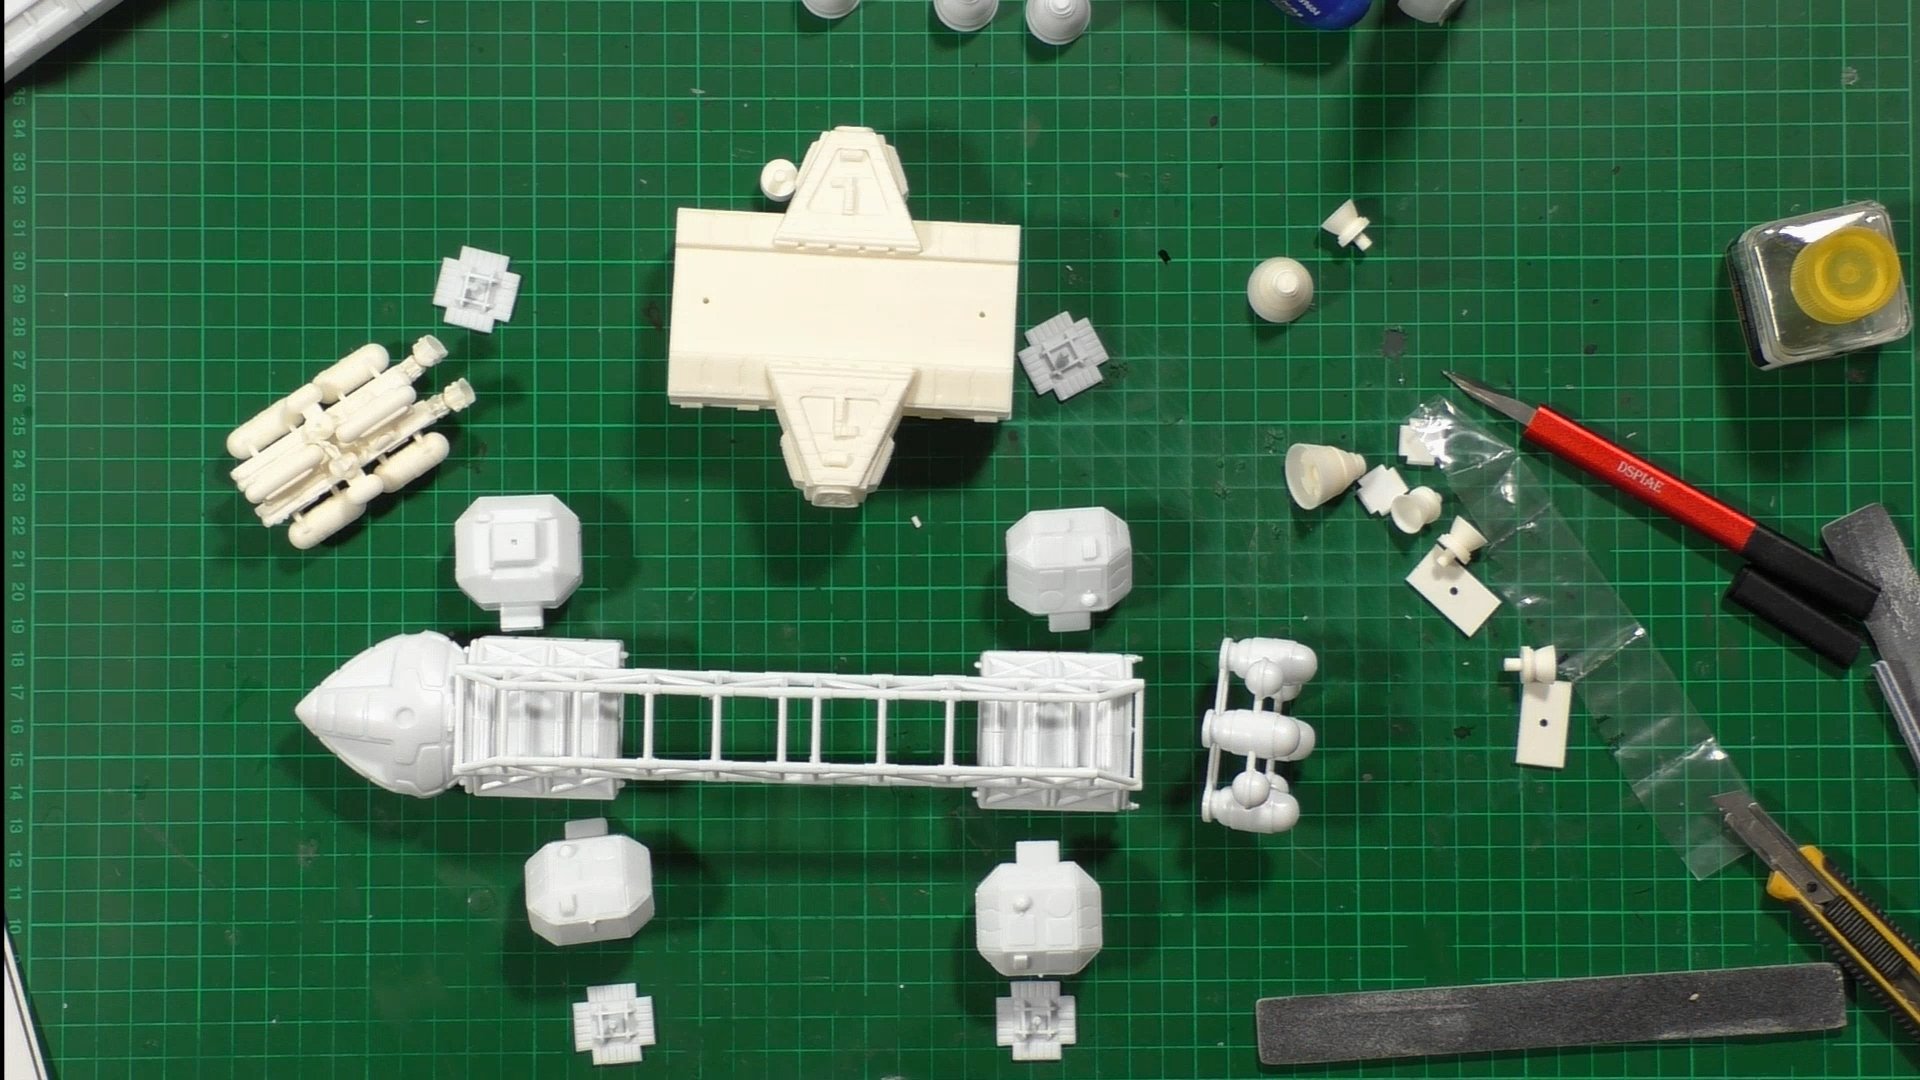
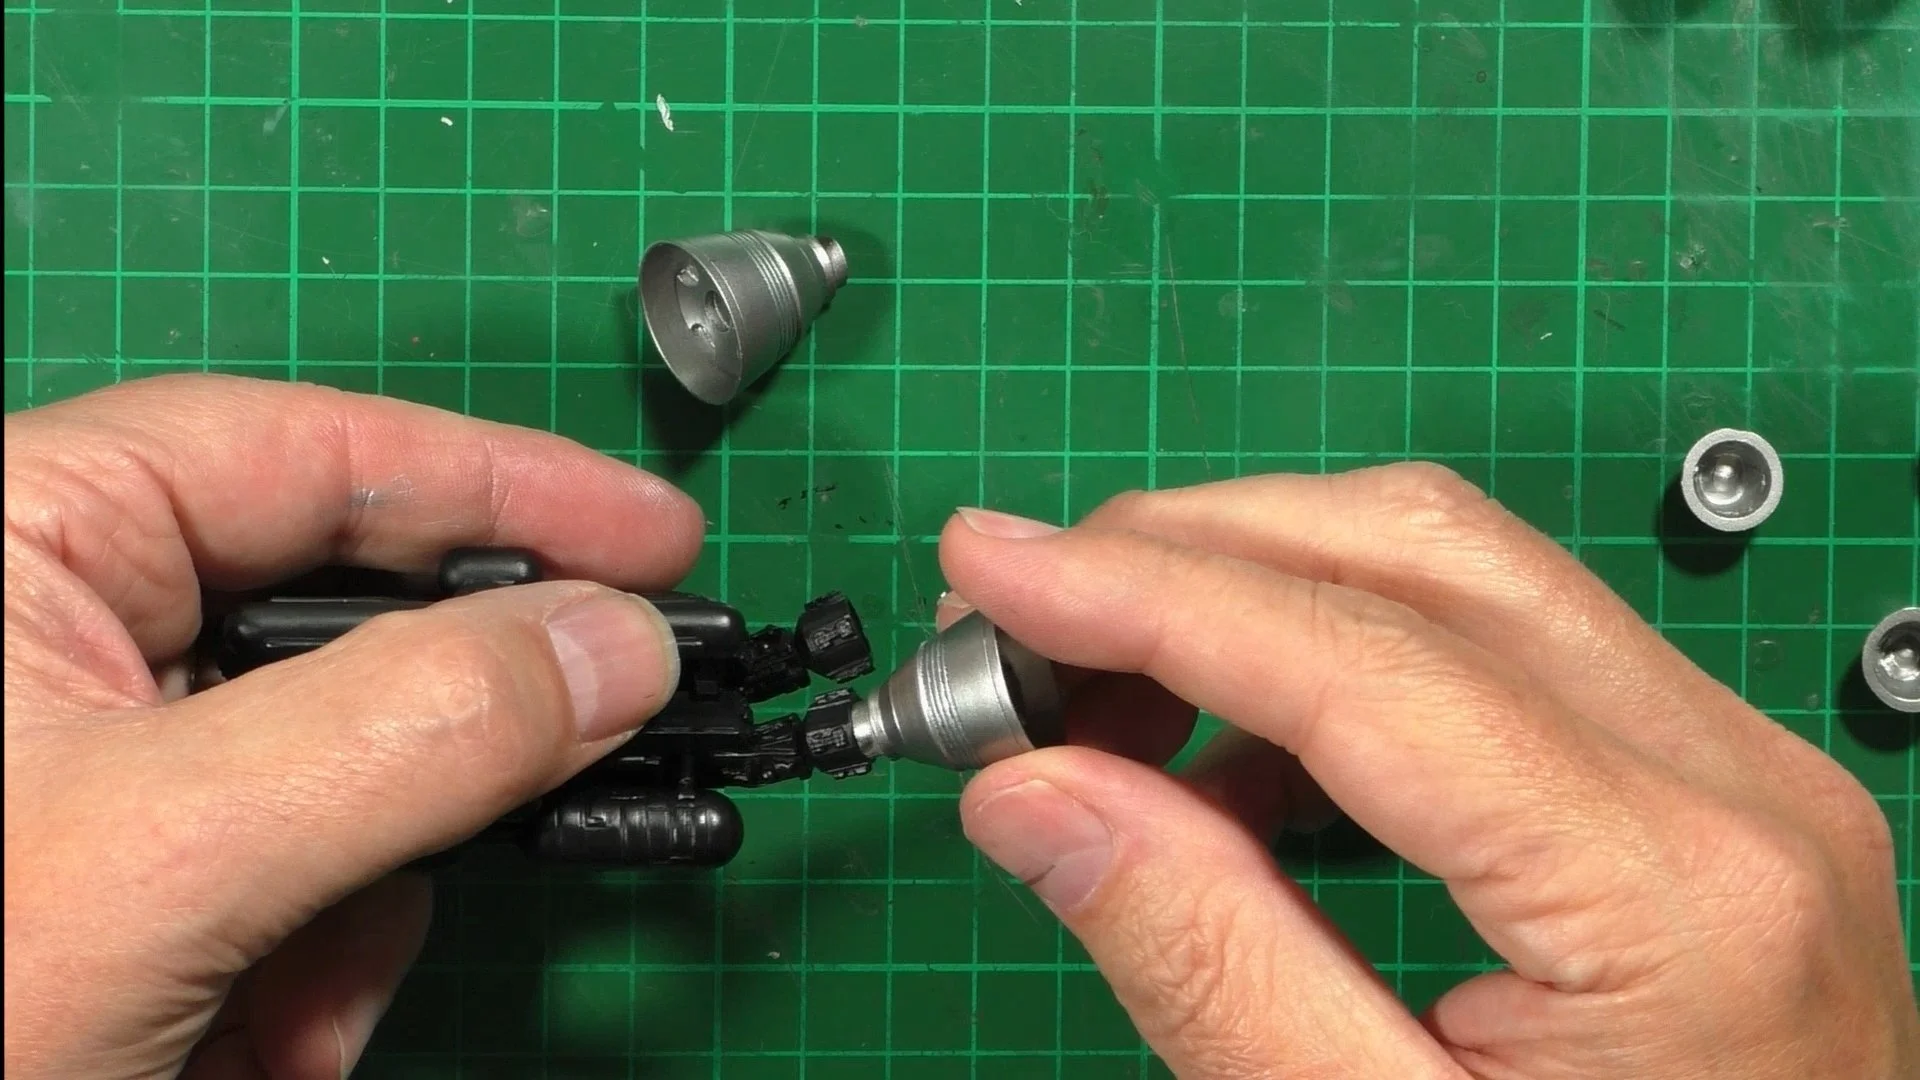
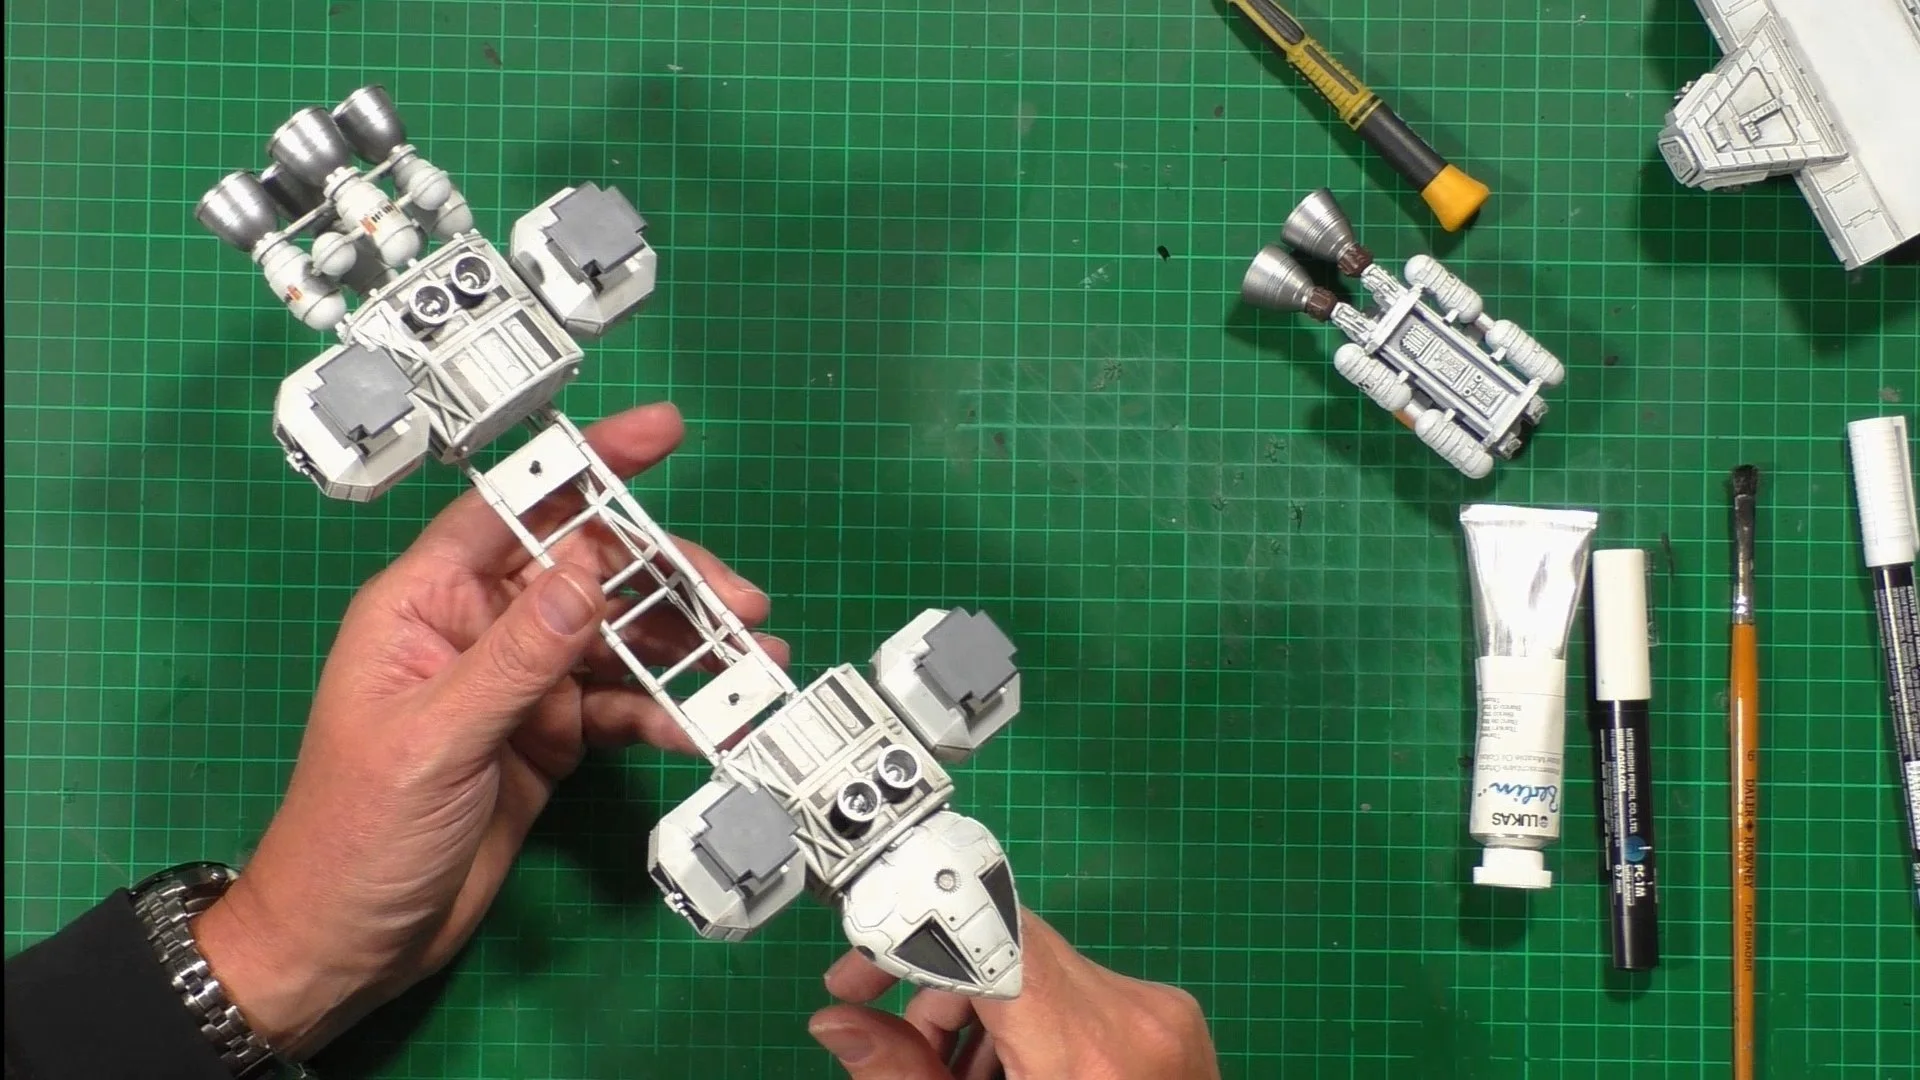
0:00 First, we look at the build ahead and the kit to see the best way to build paint and weather. 7:15 We start the build with the forward and aft section and the cockpit area and put these together. 15:59 We build the engine areas and the spine of the ship, bringing these together. 23:53 Here we build the drop pod and the thruster pack from the resin parts.

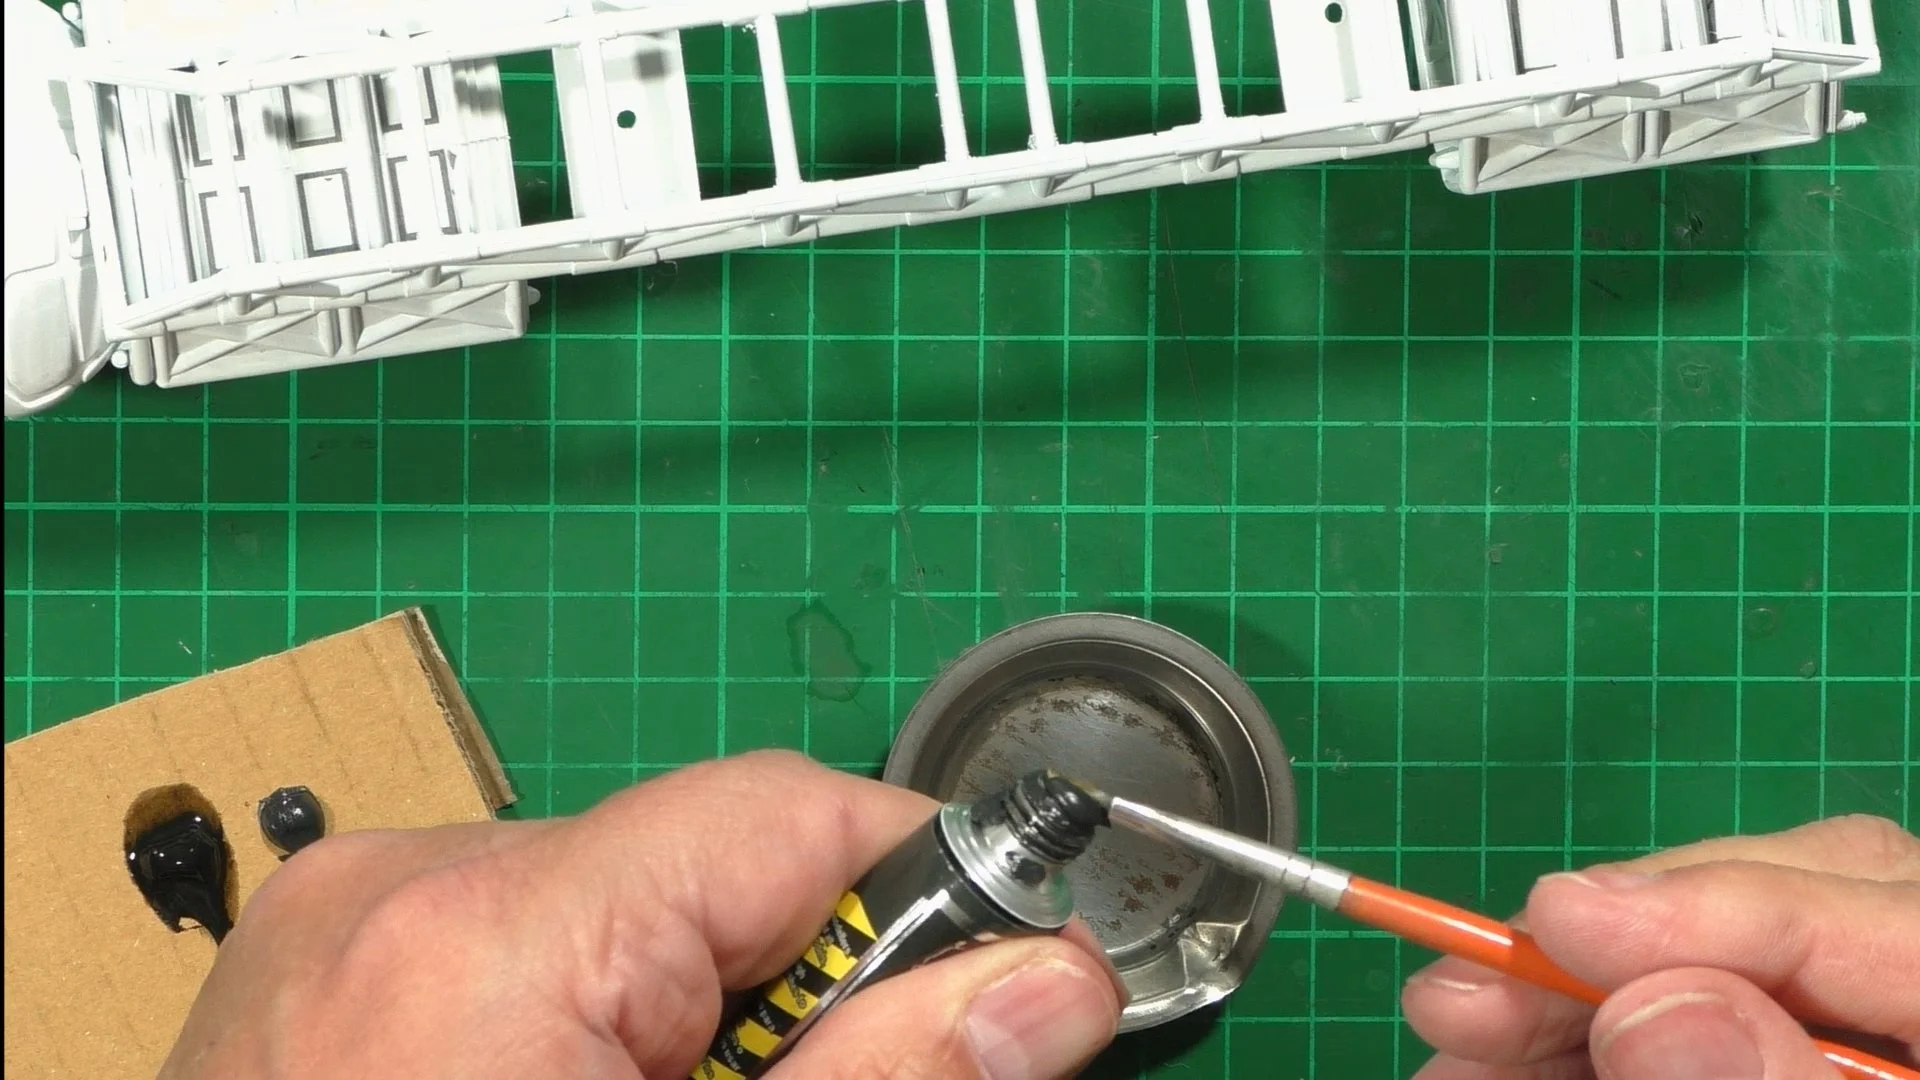
0:00 We start by filling the sink marks on the bottom with CA and Talk filler mix, showing how to mix it, 8:27 Then sanding it back with course sander and sponges. 14:43 We look at how it looks and the prime with Tamiya LP-5 Black everything to give a solid look for the white mix we put down later. 22:06 While we wait for the primer coat to dry we sprey the nozzles with AK steel AK476 and show the importance of mixing them well. 28:37 We go back over the rings on the nozzles with Stainless Steel AK670. Then just a little Dark Aluminium AK480 on the bottom and top.

0:00 First up we have a look at how the Engine nozzles look and then make our diamond white color with a mix of white and RAF sky. the mix is 4 drops into a 15ml bottle 8:24 Next, we move into the spray booth and put down three coats over the black primer. 12:19 With the white work on we use AK Markers to pick out the details. 20:07 Now it's time to decal and to be honest they are horrible!! Very brittle and shatters easily.

0:00 First up we look at the recalling and how it come out and the way we used markers to replace some of the decals. 9:47 We move into the spray booth and put down a satin coat made up of a mix of AK 3gen Matt and AK gauzy Agent Shine and apply it to the model. 14:05 We let the clear coat dry for 24 hours and then made a wash with Abteilung 502 ABT510 Starship filth. 25:22 When the wash is almost dry, we rub and drybrush the wash away leaving the weathering we want behind.

0:00 In this final part, we weather with a thinned oil wash the booster section. 4:33 With the oils dry we can now assemble the model and add the lab. 19:24 Now it's time for the Ultra matt finish with AK 3rd Gen Ultra Matt. 20:00 The final reveal!!! and my thoughts on the kit and build....