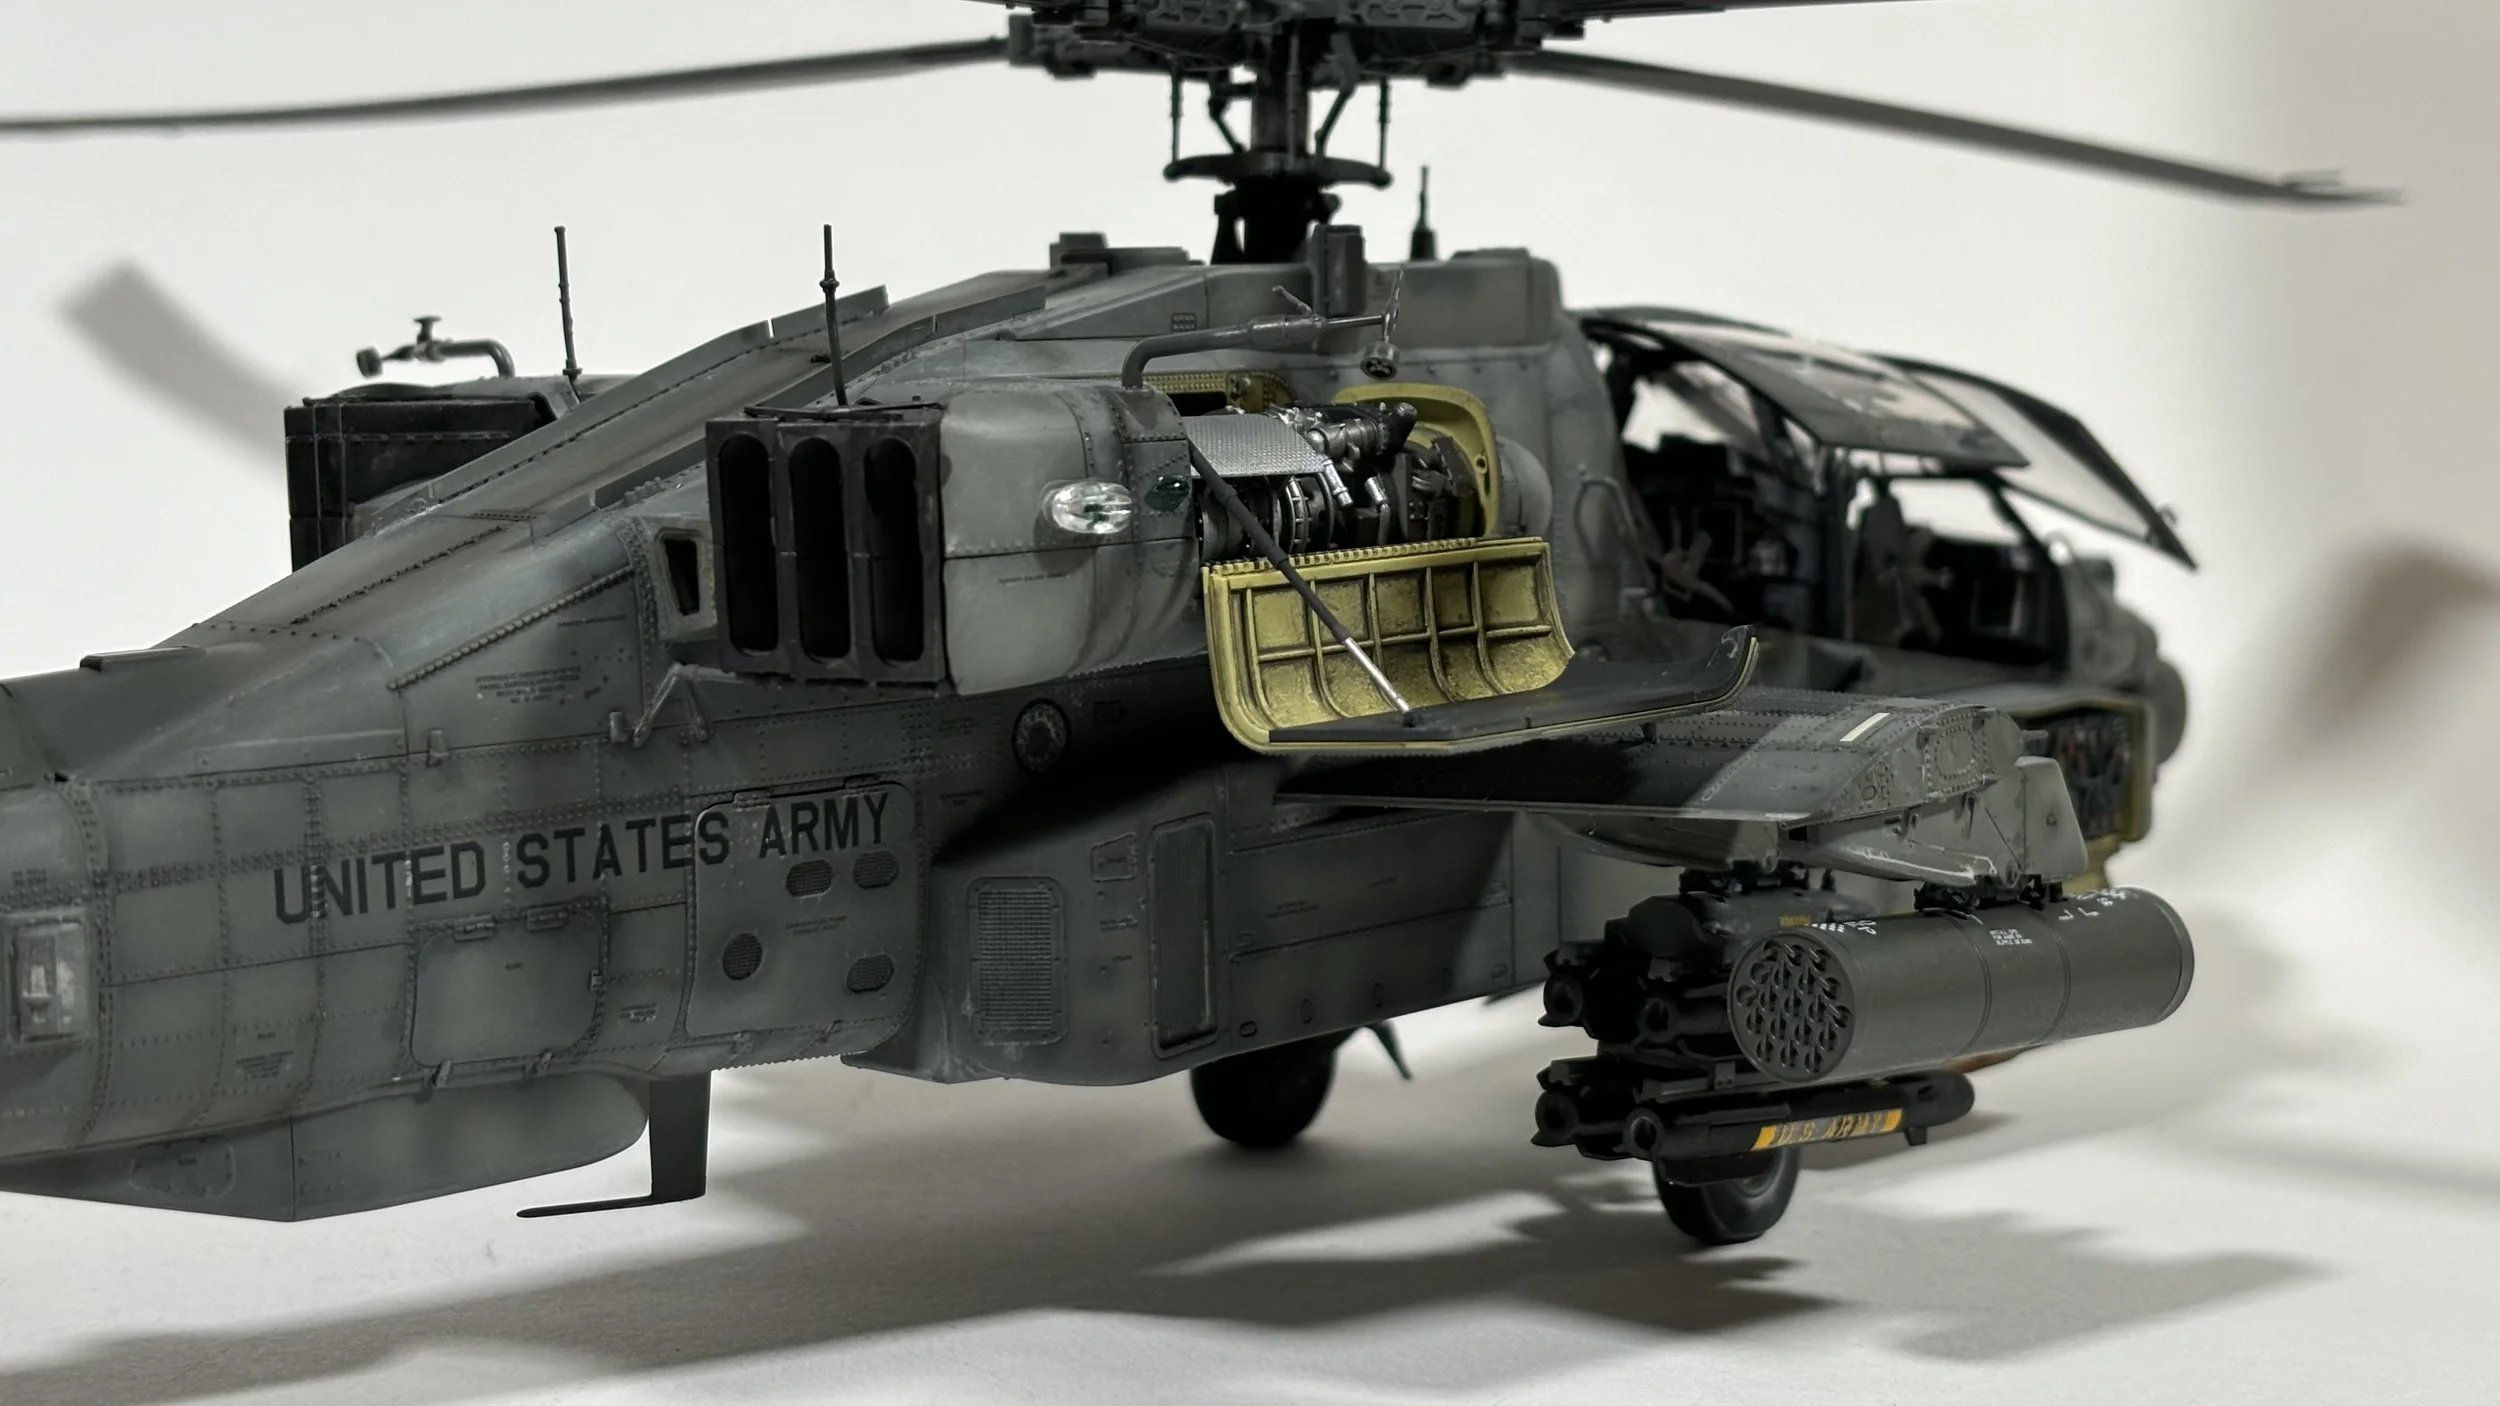
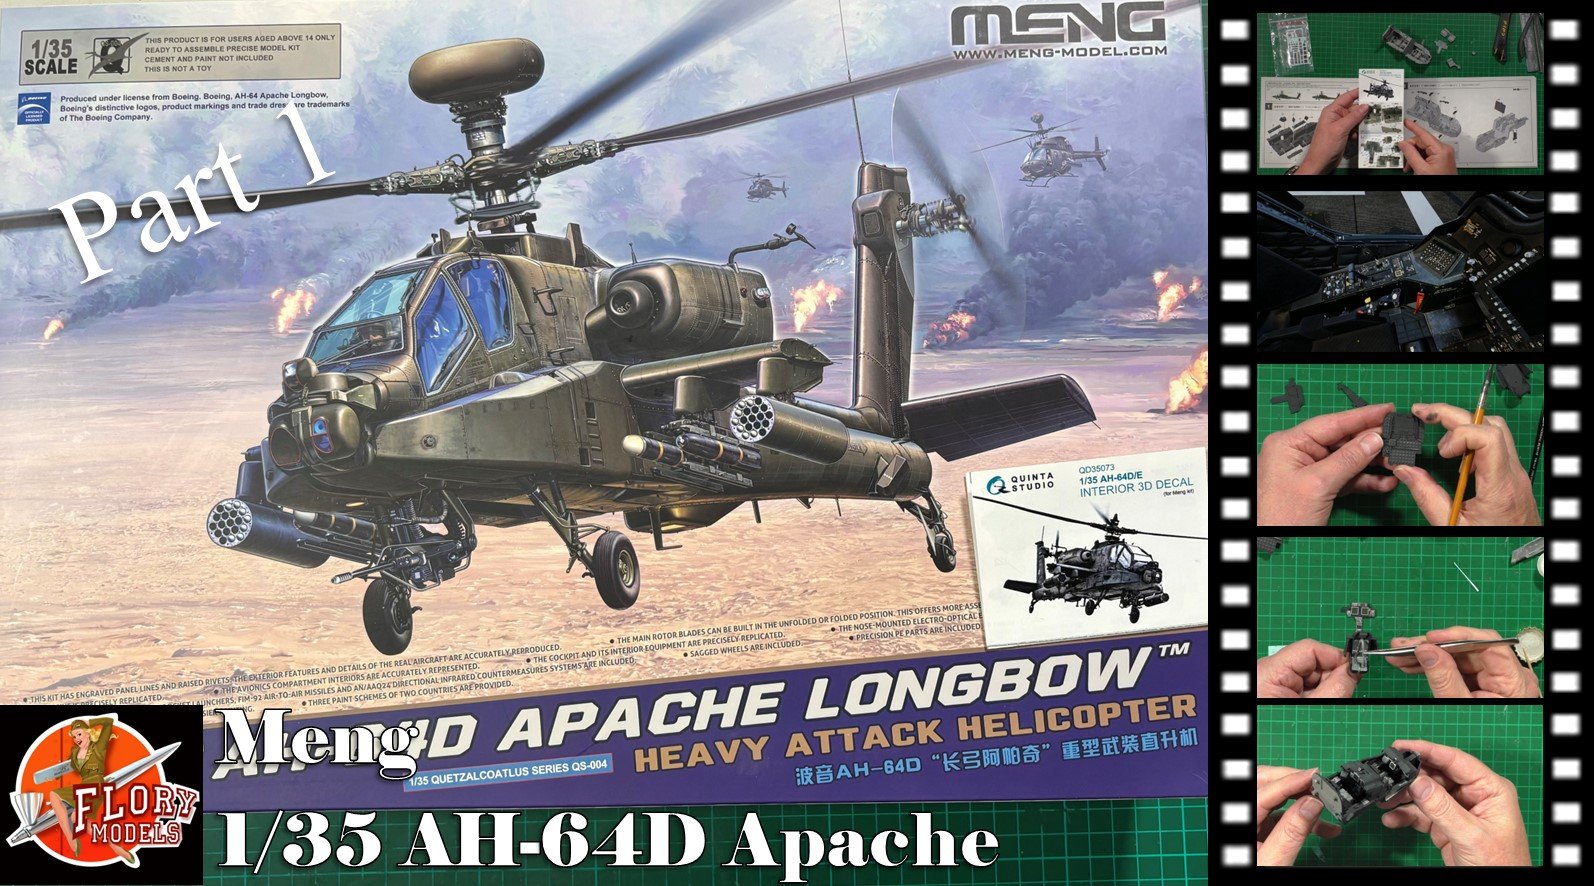
AH-64D Apache
Scale: 1/35
Manufacturer: Meng
Parts used: Quinta 3D Decals QD35073
Main paints used: Tamiya and AK Real Colors
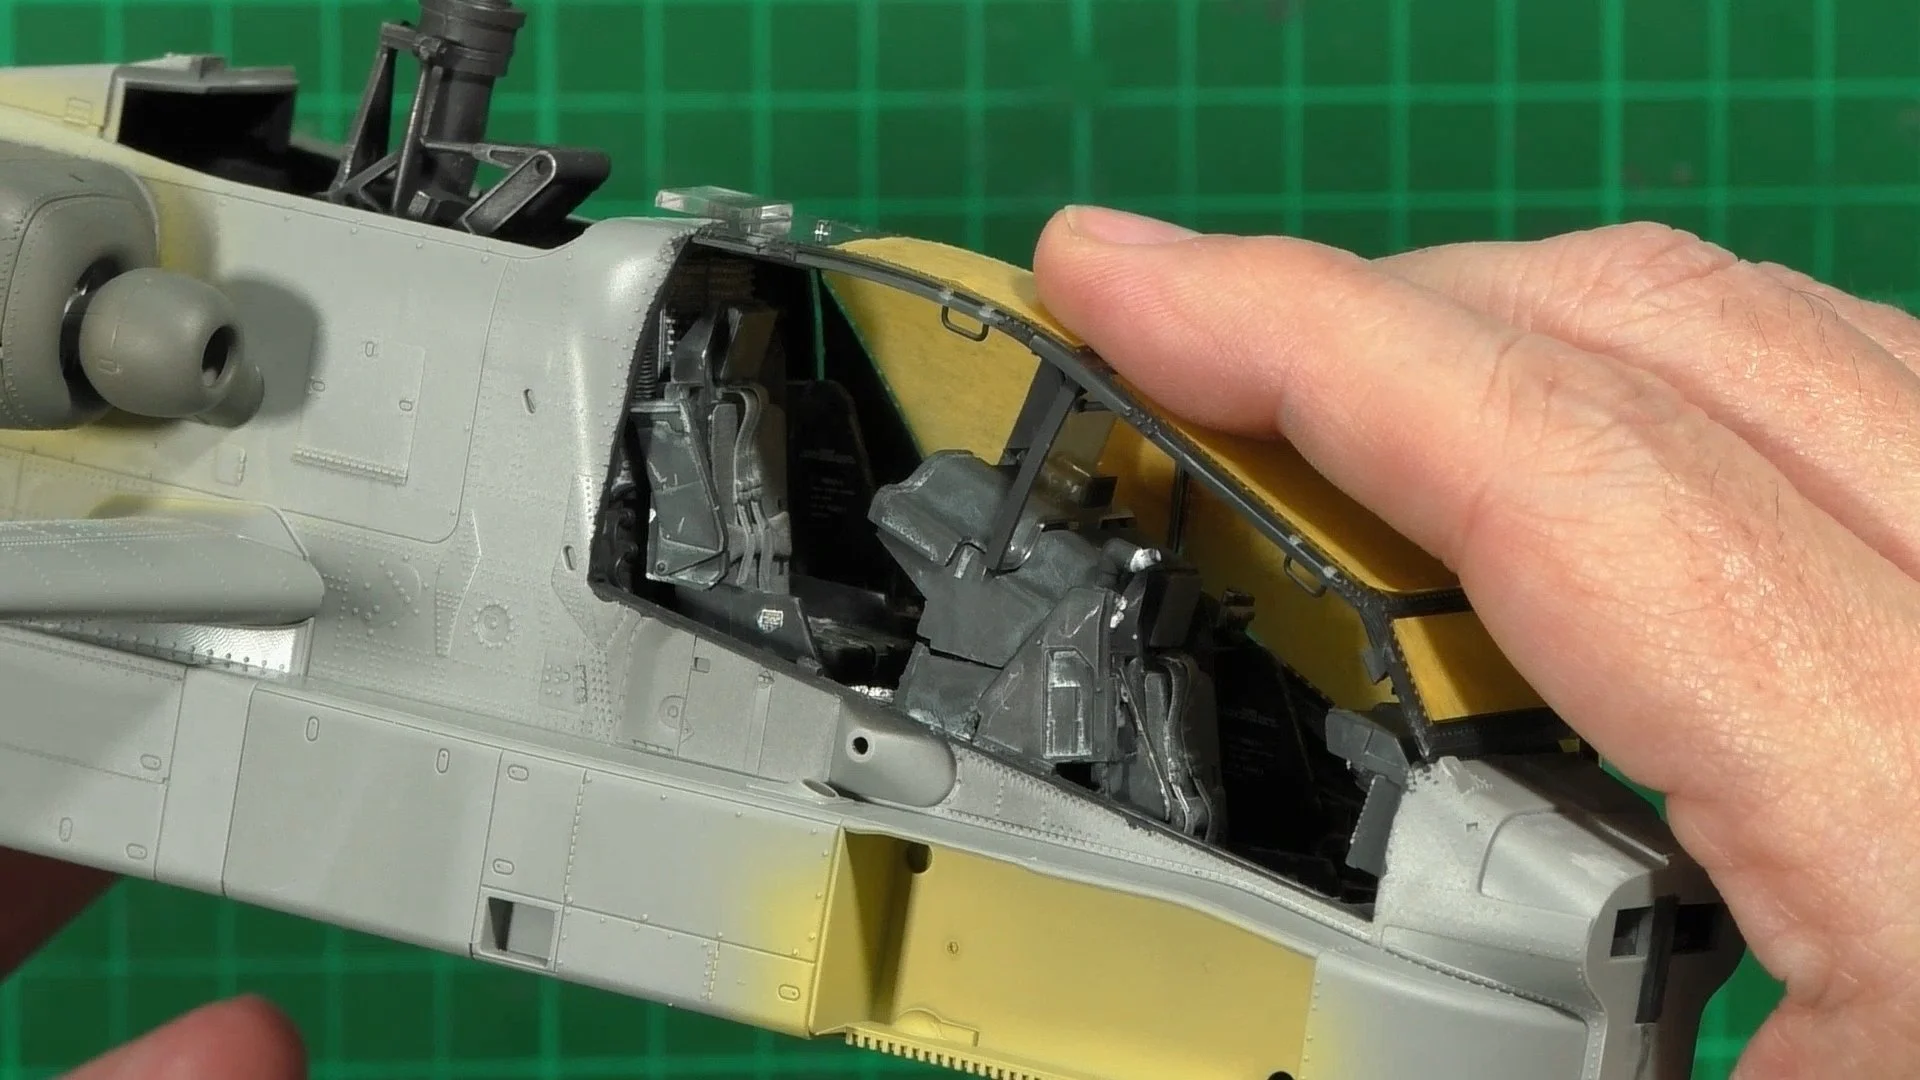
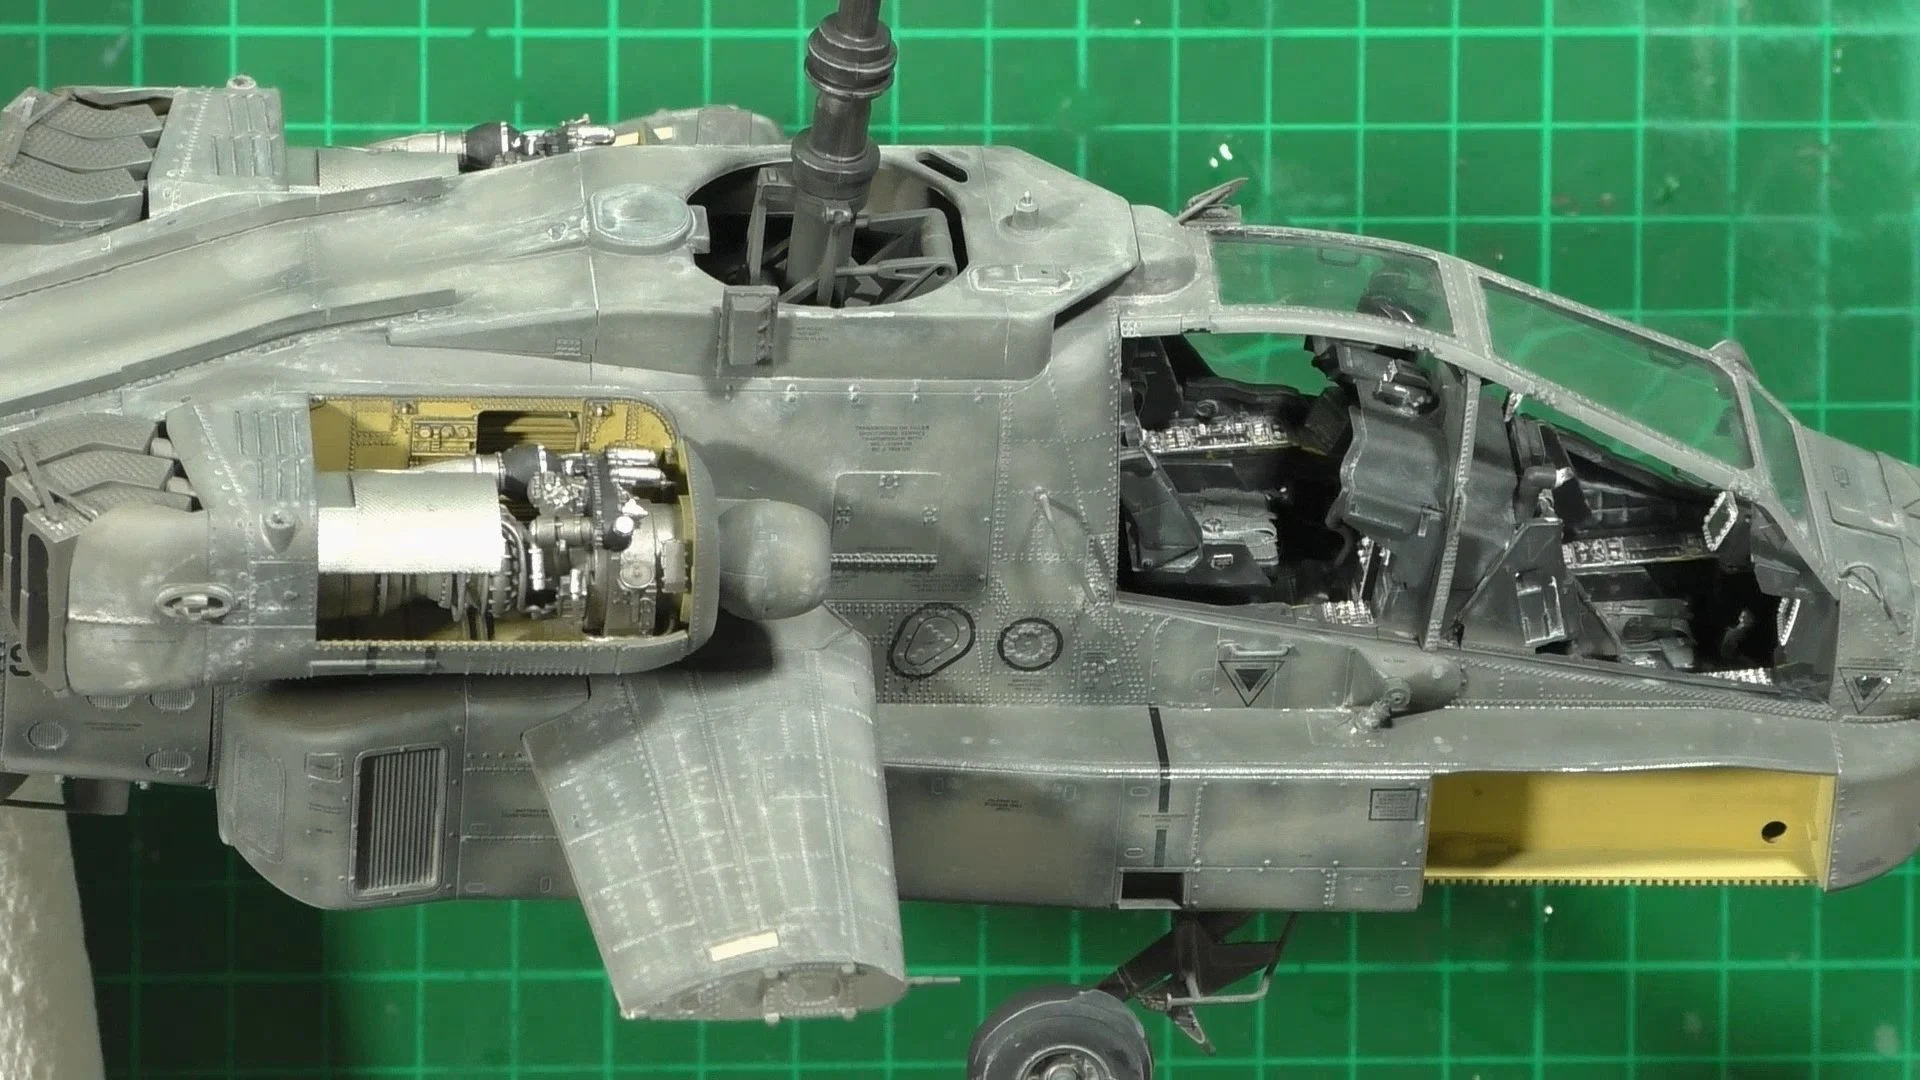
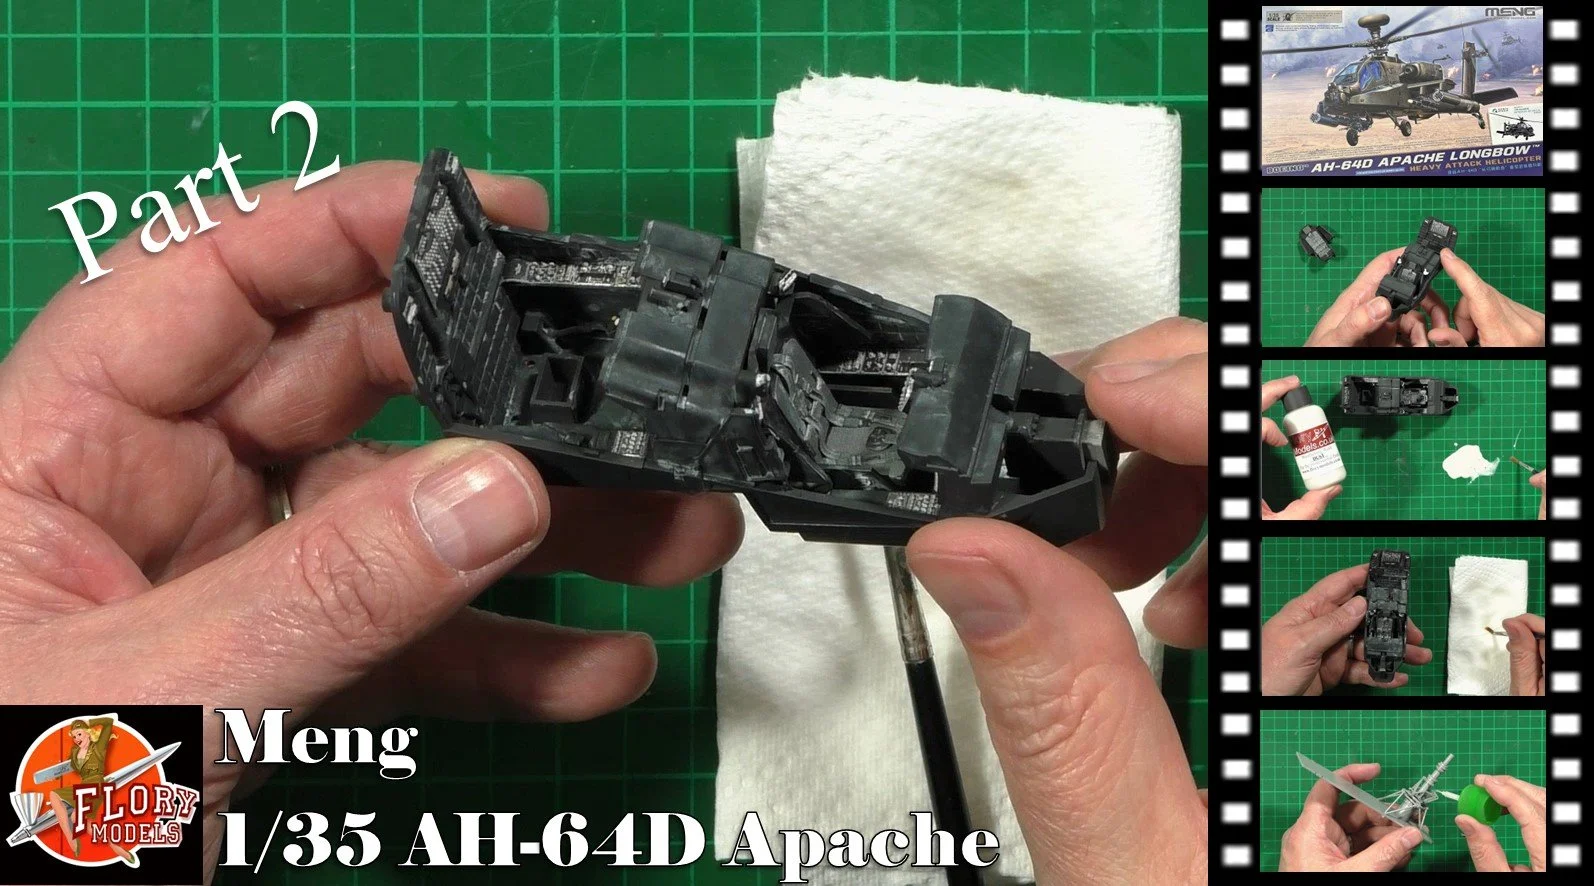
0:00 We look at the build ahead and how we will tackle it. 1:03 We start work on the cockpit area, and the Quinta Studio 3D Decal set QD35073 12:19 Next we jump in the cockpit of the DCS Apache to look at the coloring and weather as we will take our inspiration from this. 19:36 In the spray booth we use Tamiya rubber black XF-84 to paint the cockpit area, 22:58 WE next add Tamita XF-53 Grey to wear the black down a little. 26:36 Back the beach, we used MR.metal color Dark Iron 214 to give a weathered solid look by lightly dry brushing. 32:40 Next it's time to install the Quinta 3D set. We use PVA and CA glue to fix in place. 51:55 Now we can install the part to the cockpit.
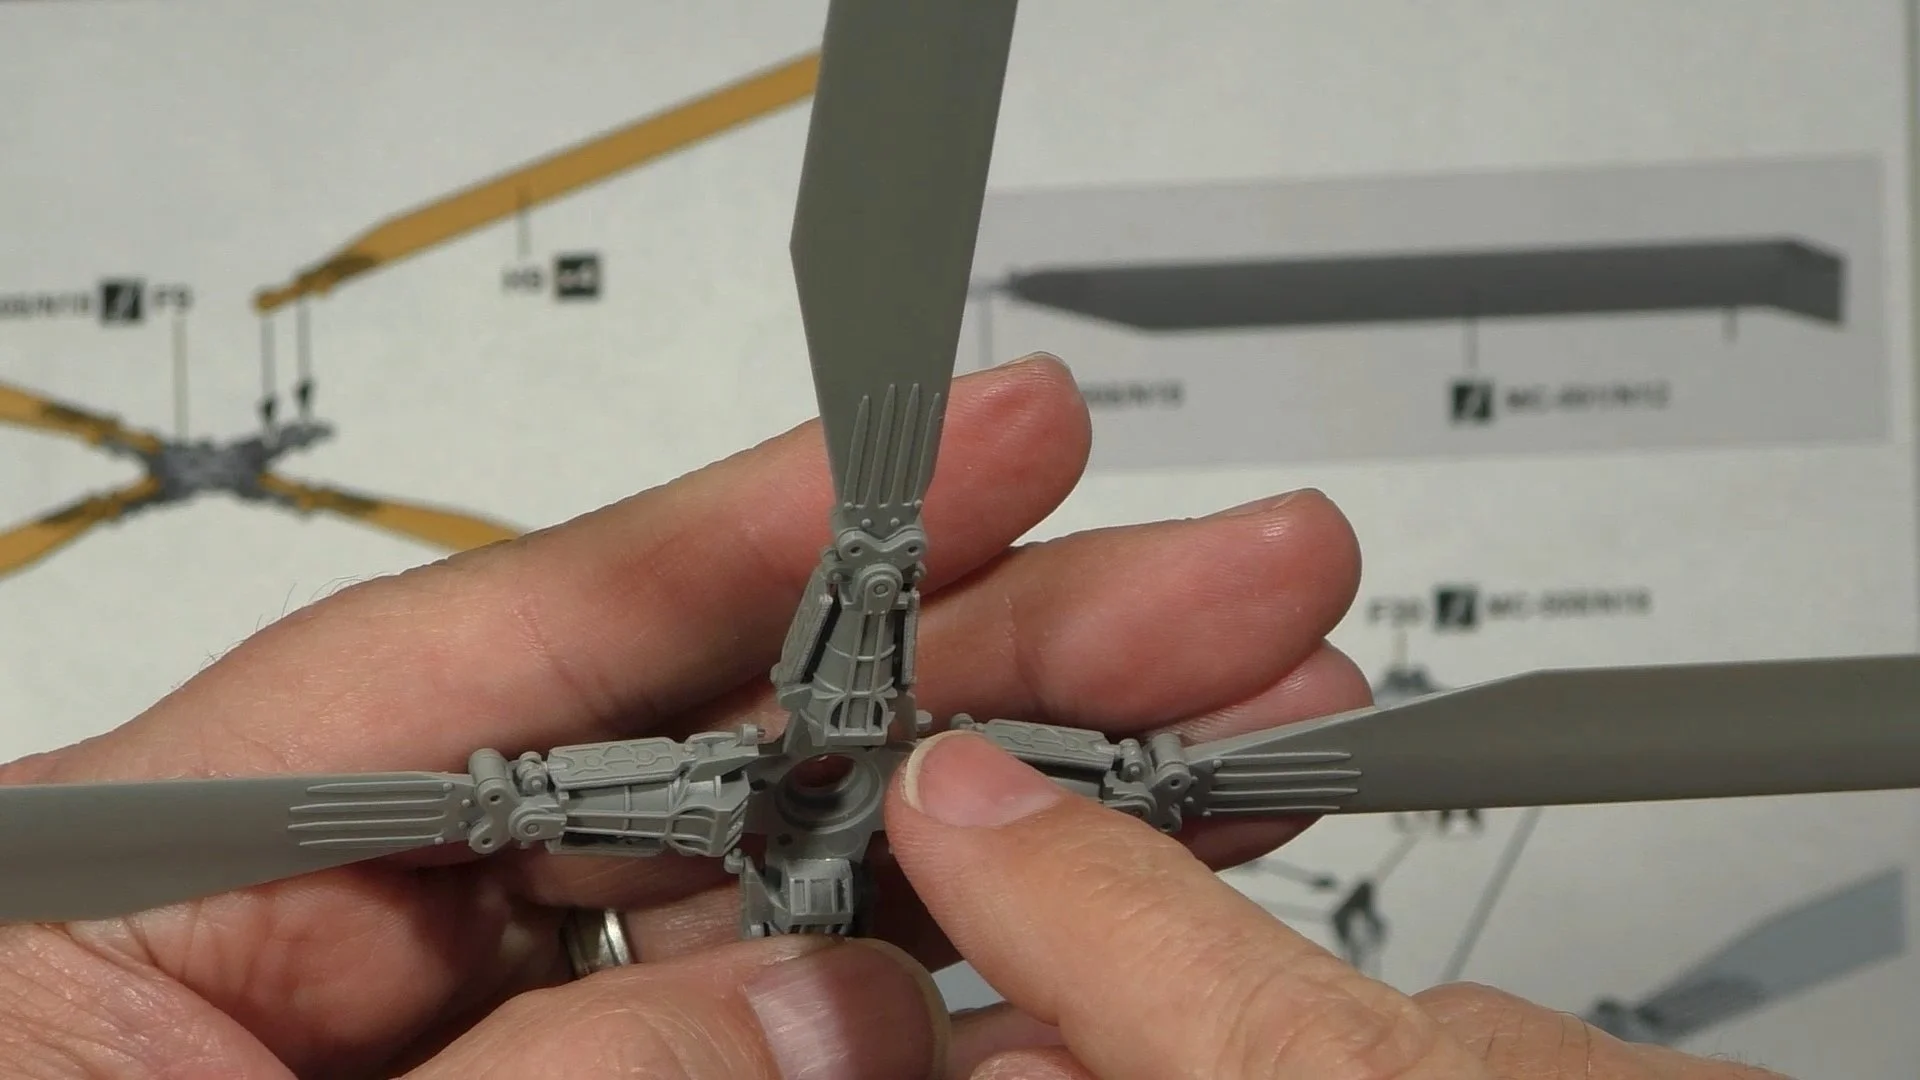
0:00 First off, we do some simple scratch building to add the gunner's magnetic reads that are missing on the model. 1:02 Next we add dust and wear to the cockpit using (F.A.R.T) Flory. Advanced. Rendering. Technique. For this we used Flory Models Dust wash FMW009, thinning with water and applied. 10:24 Once dry, WE treat the clay wash like an oil paint, we use water instead of thinners to thin and move the wash around and remove the access wash from the model. This gives it that dusty warn-in look to the paintwork. 19:27 Now we move over to the main rotor and build up the rotor shaft and mounting area.
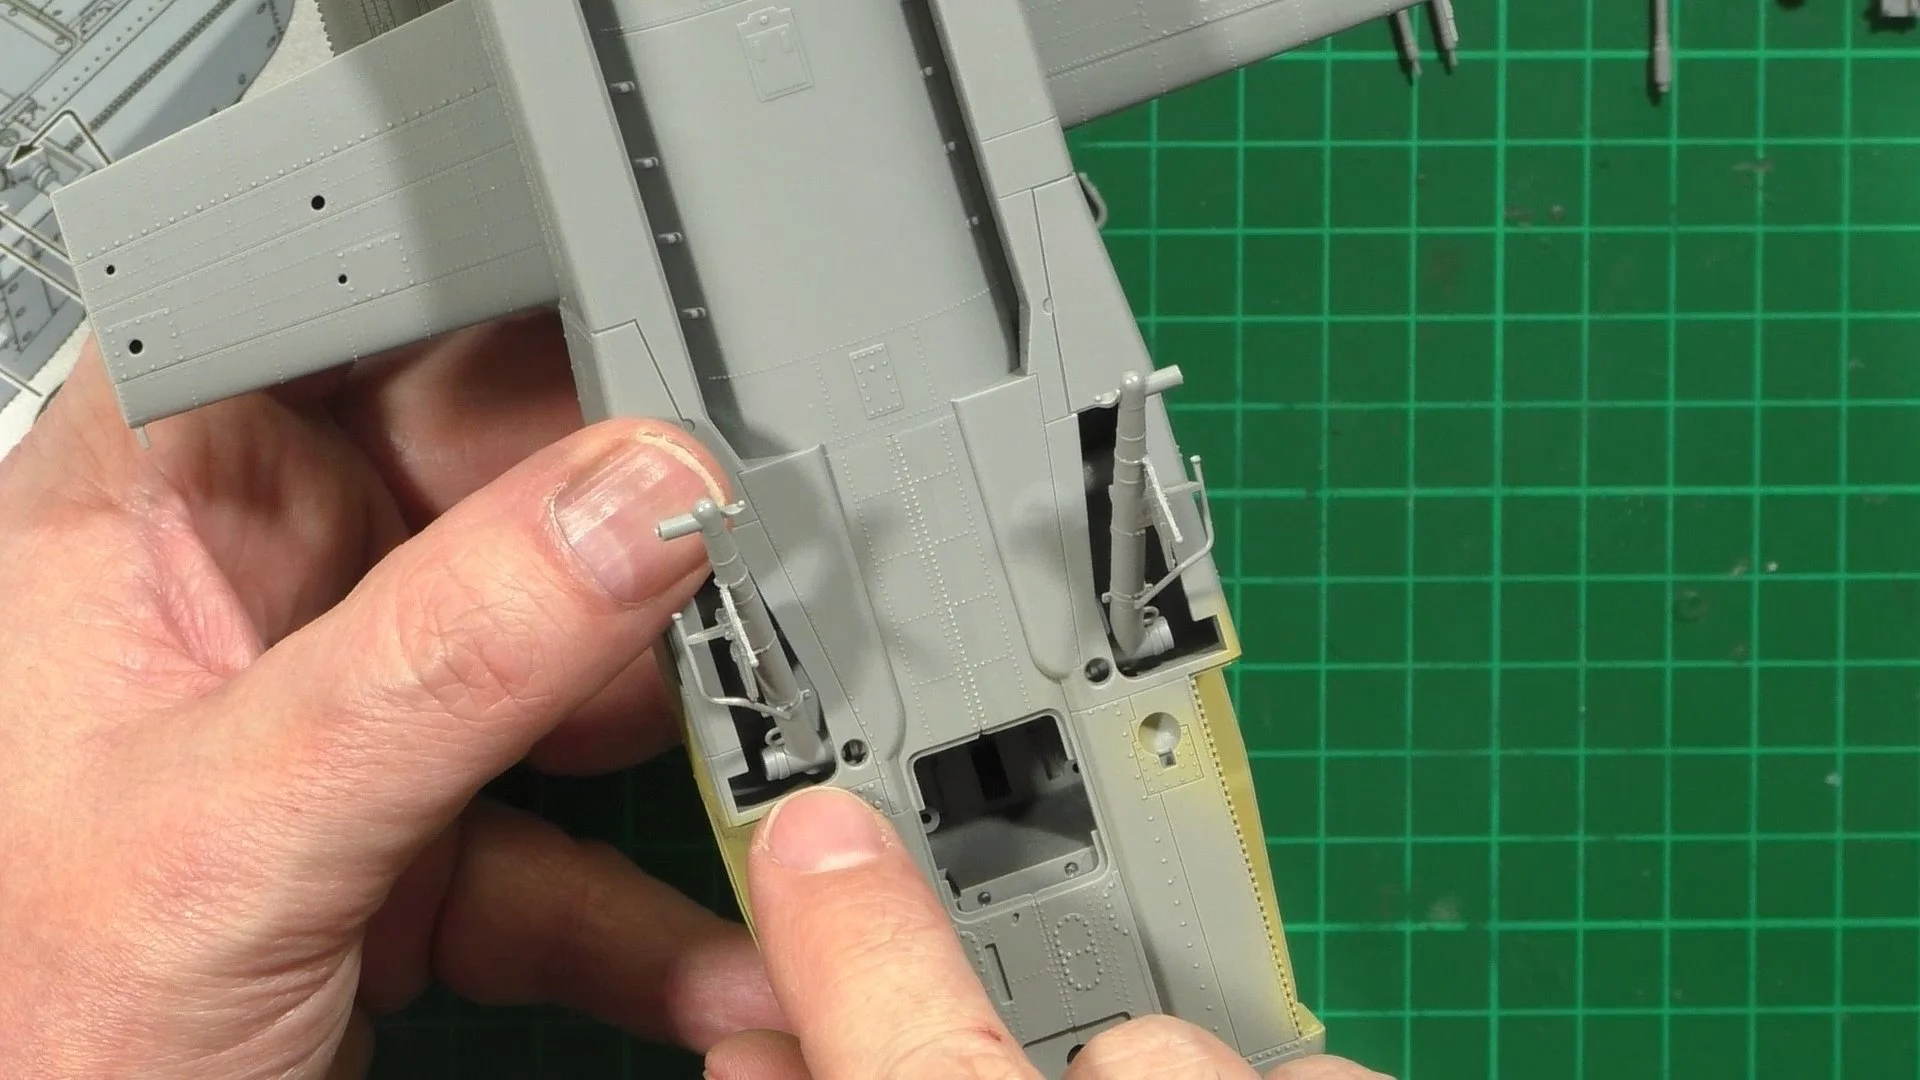
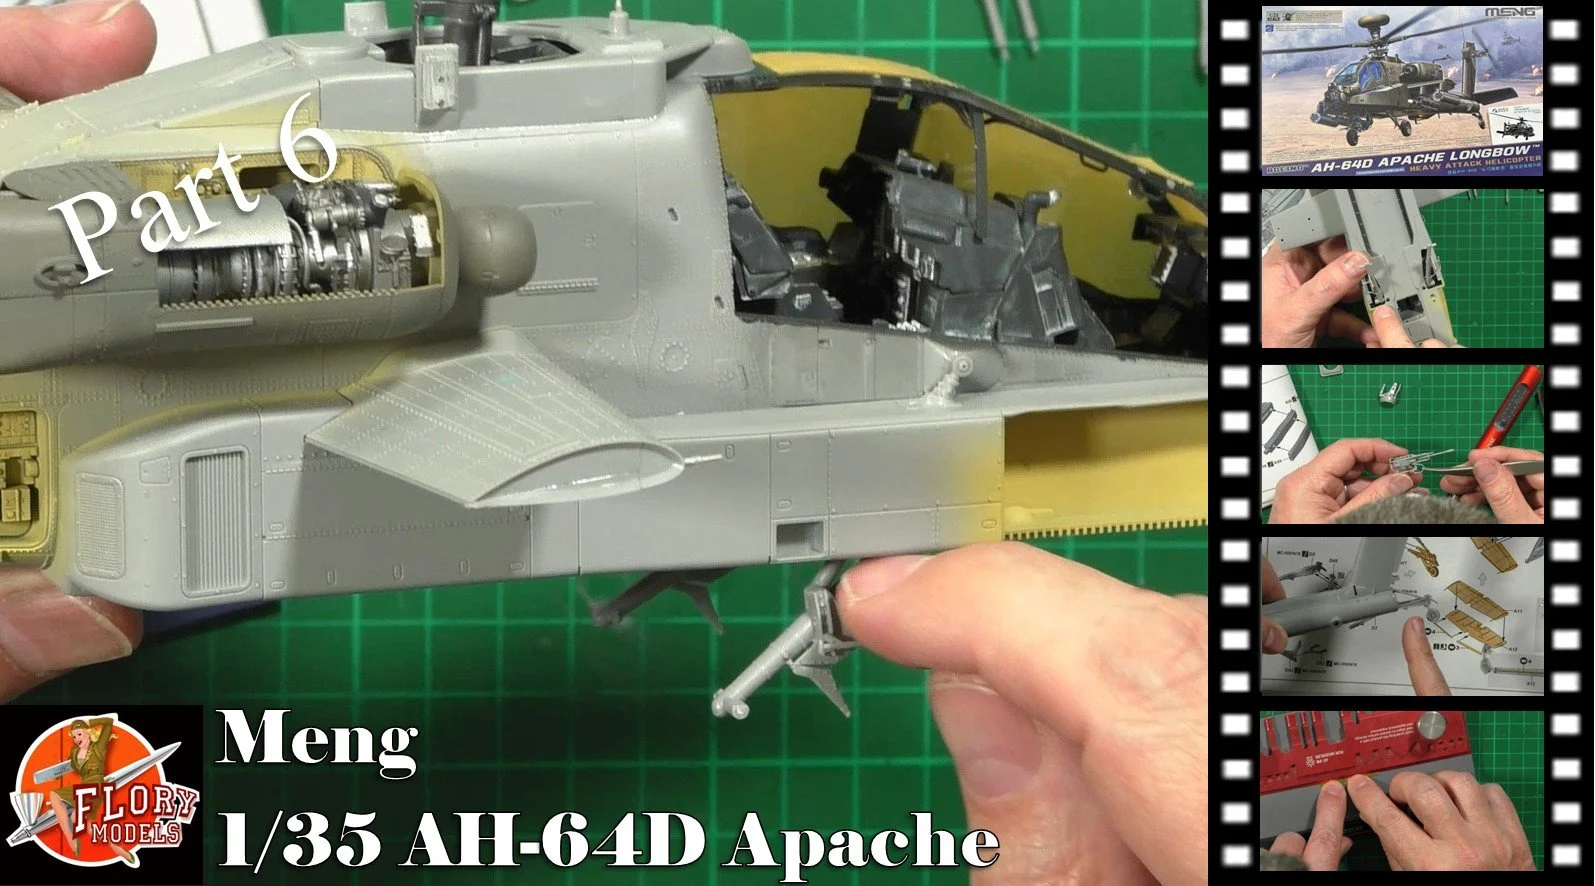
0:00 First we check the seams and they're all go and then put together the stub wings and install those. 4:44 Next we add the side packs and glue into place. Next, we install the tail cover over the tailboom. 12:35 With the main body drying we work on the beautifully detailed engines.

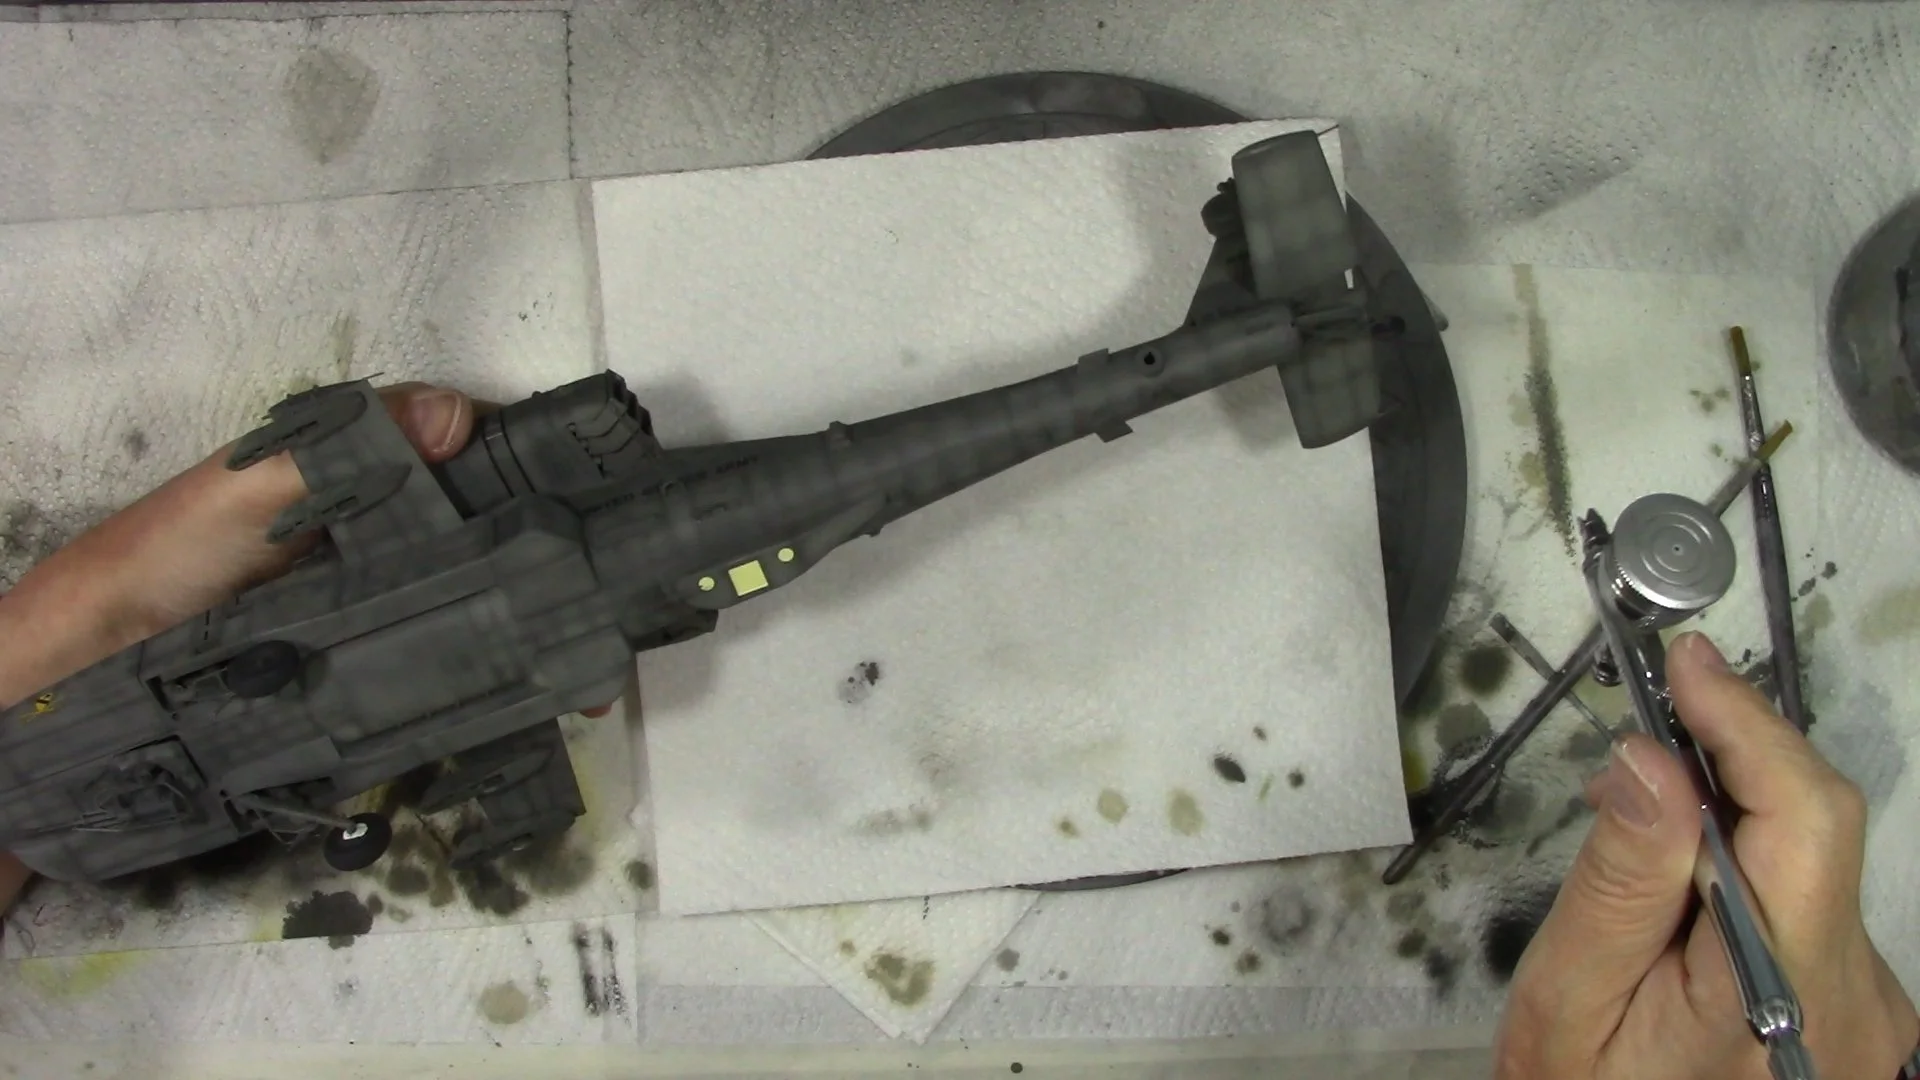
0:00 First up we work on the engine exhausts, fit the IR suppressors and look at painting the units. 12:04 Moving into the spray booth we paint the interior yellow with a mix of Tamiya XF-4 and LP-4 White. 16:53 Next we paint the engines with Tamiya LP-48 and then LP-19 Gun Metal for the exhausts and front part of the engine. 23:22 Last up, we paint the outside of the engine covers so we don't get any overspray on the engines once installed. This is with a mix of AK RC229 Helo Drab FS34031and then add Tamiya XF-55 Deck Tan to the mix and spray on.

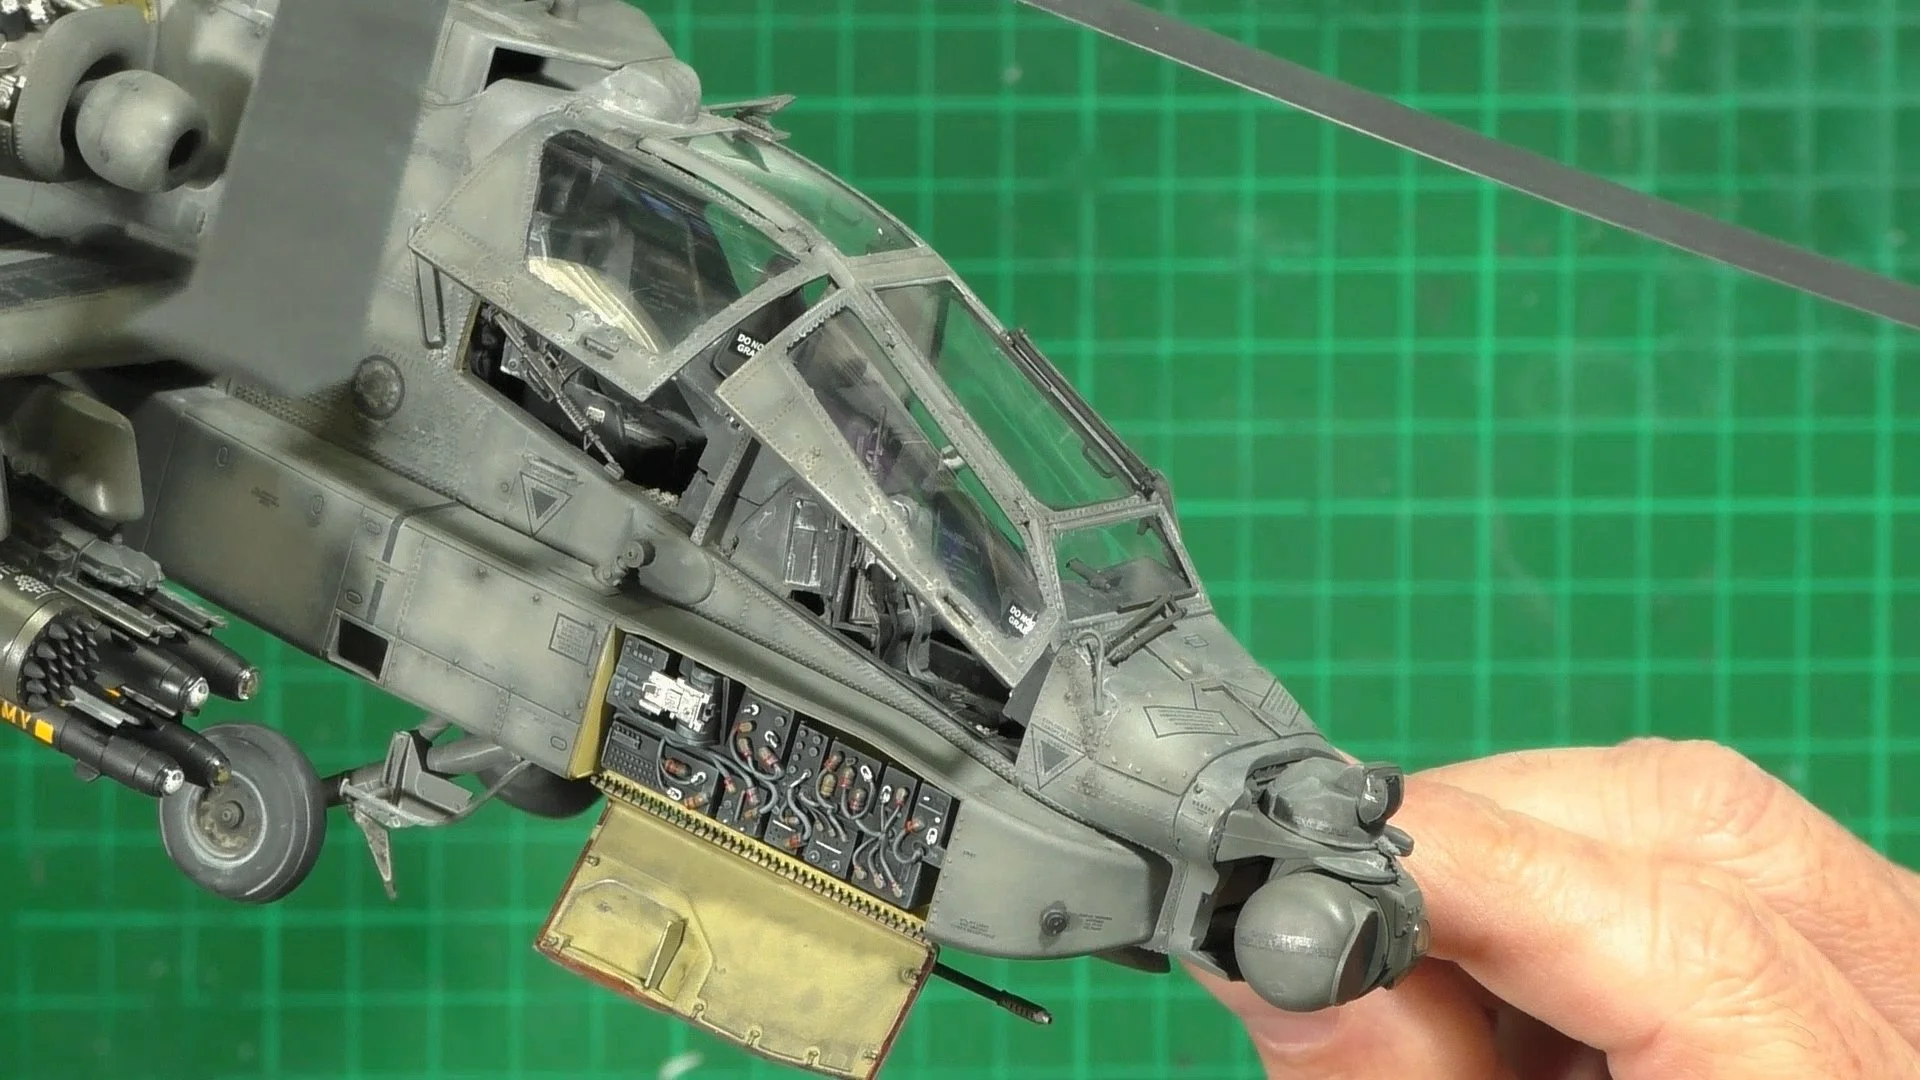
0:00 With the engines now painted we can weather them up starting with an oil wash. 5:30 Next we dry brush Mr.Metal color 214 over the engine and the inside of the panels. 10:38 Now we can install the engines in their nacelles and fit to the aircraft. 17:19 Next we mask up the clear parts with the provided mask set that comes with the kit. 23:08 Using XF-85 Tamiya we paint the inside of all the clear parts. 25:38 We add all the grab handles and de-missing pipping to the inside of the canopy and install too the Fuselage.

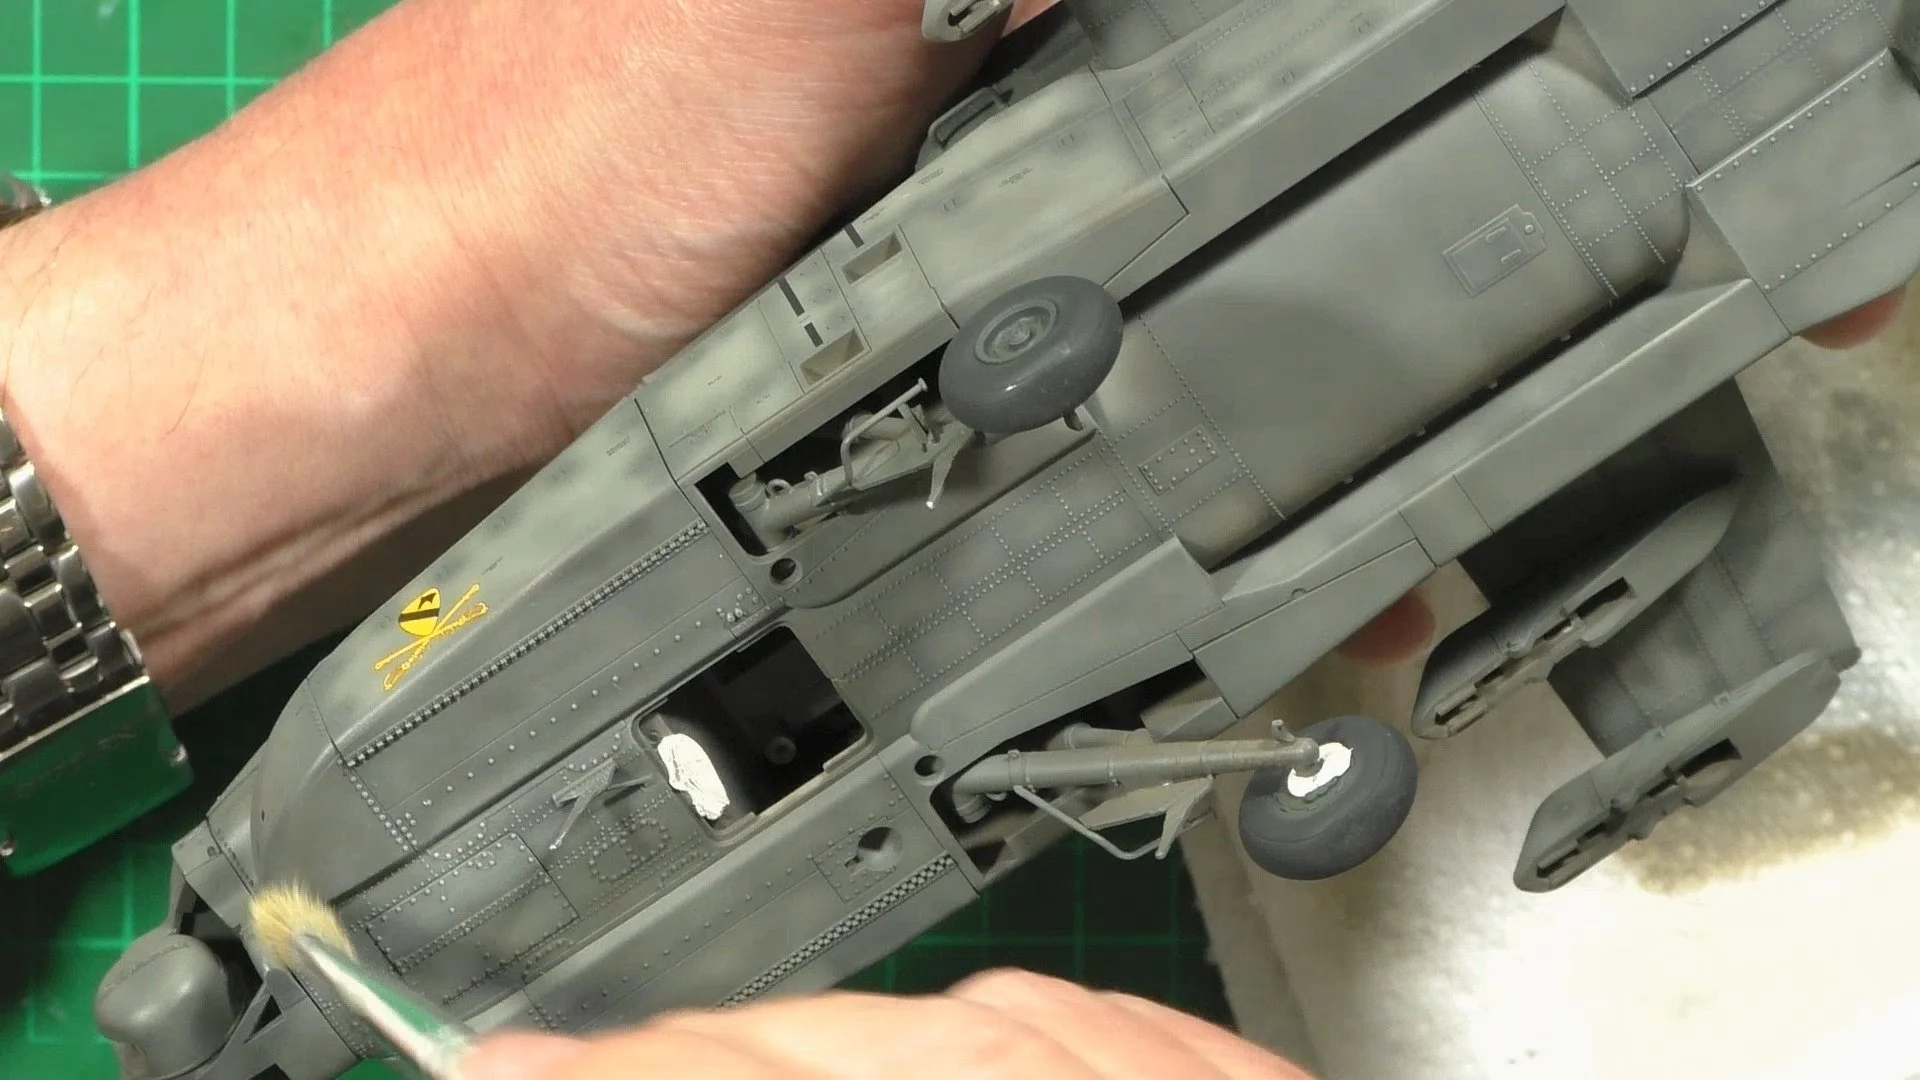
0:00 We start with the TADS and pre-paint some parts to make it easier. 10:59 Next we install the gear and fit the Wire strike protection system (WSPS) And then build the 30mm gun. 25:56 Then we move onto the tail wheel and the stabilizer fitting the Photo Etch in place.
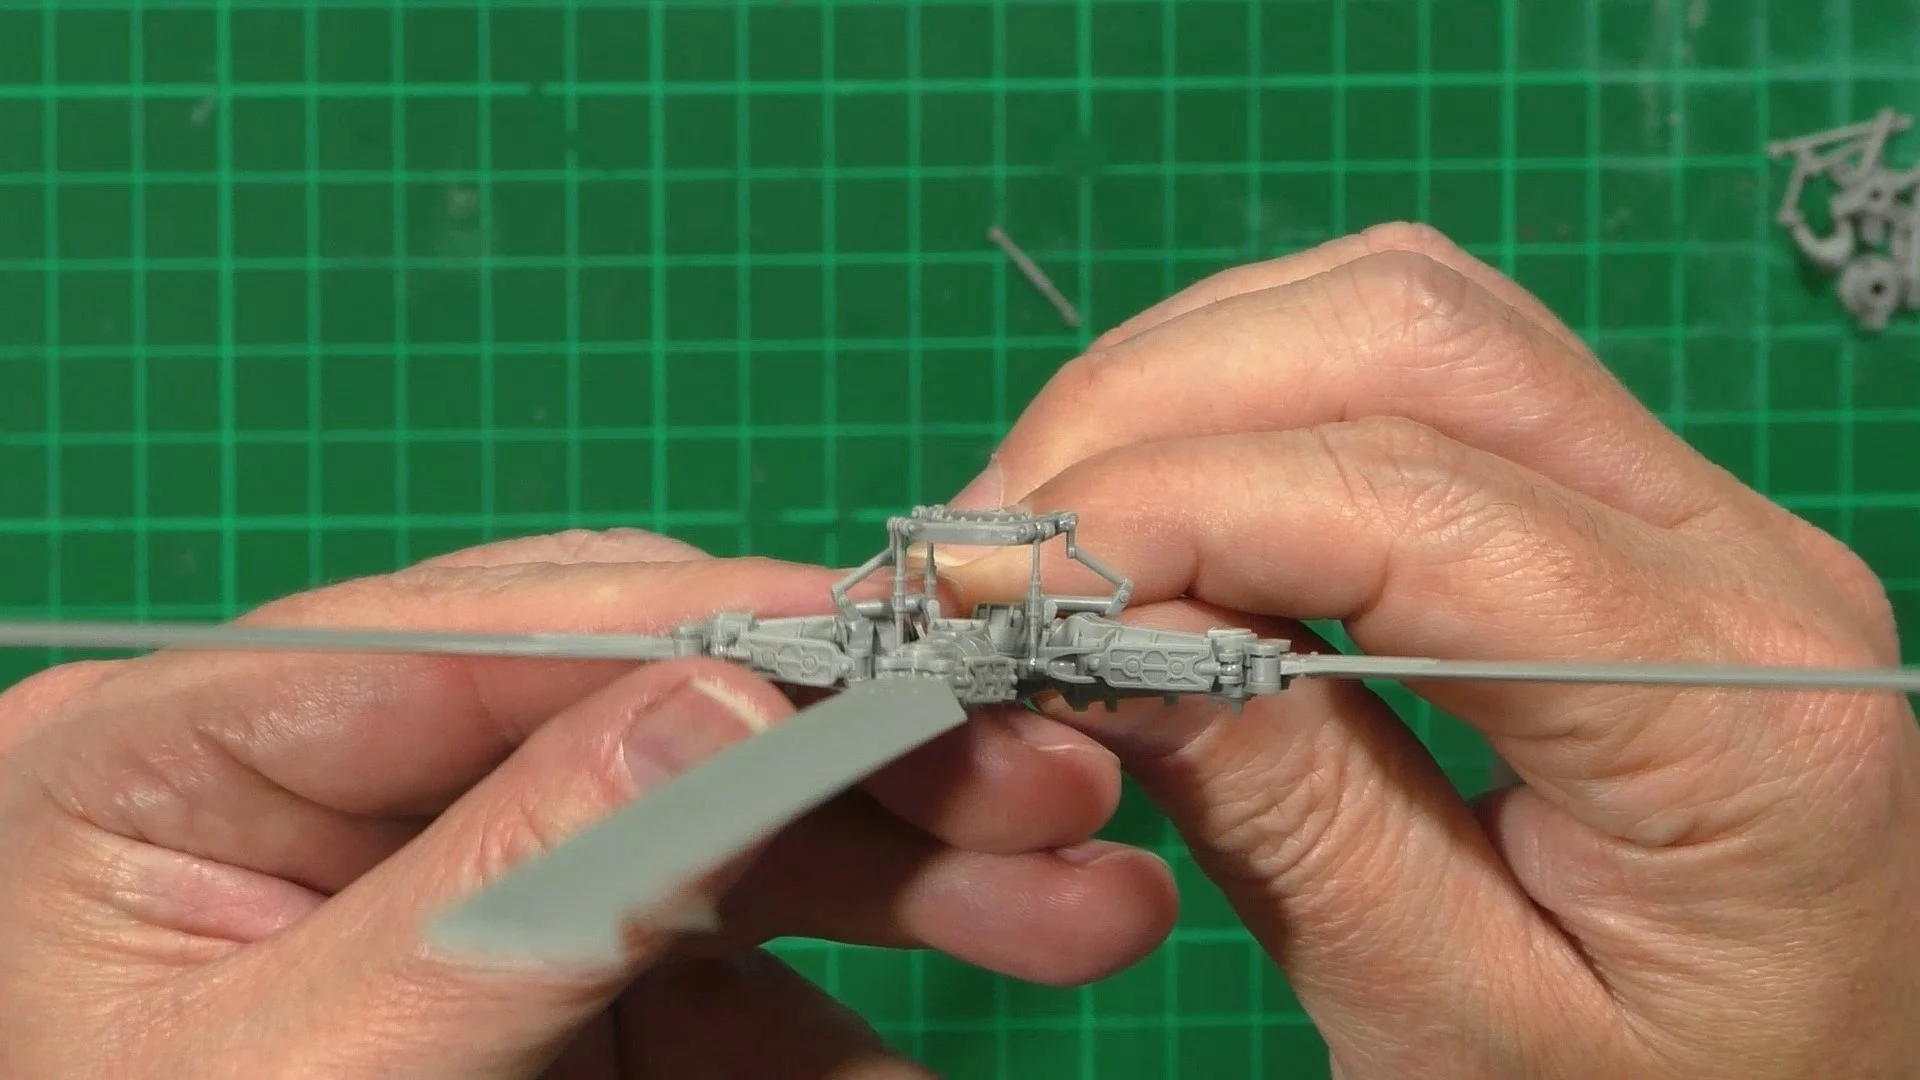
0:00 First, we put together the pylons for the weapons and then the Hellfire missiles and rocket pods. 7:31 Next it's time to build the FCR (Fire Control Radar) for the top mast. 19:28 Lastly we build the main and tail rotors, this pretty much complements the build phase of the build.

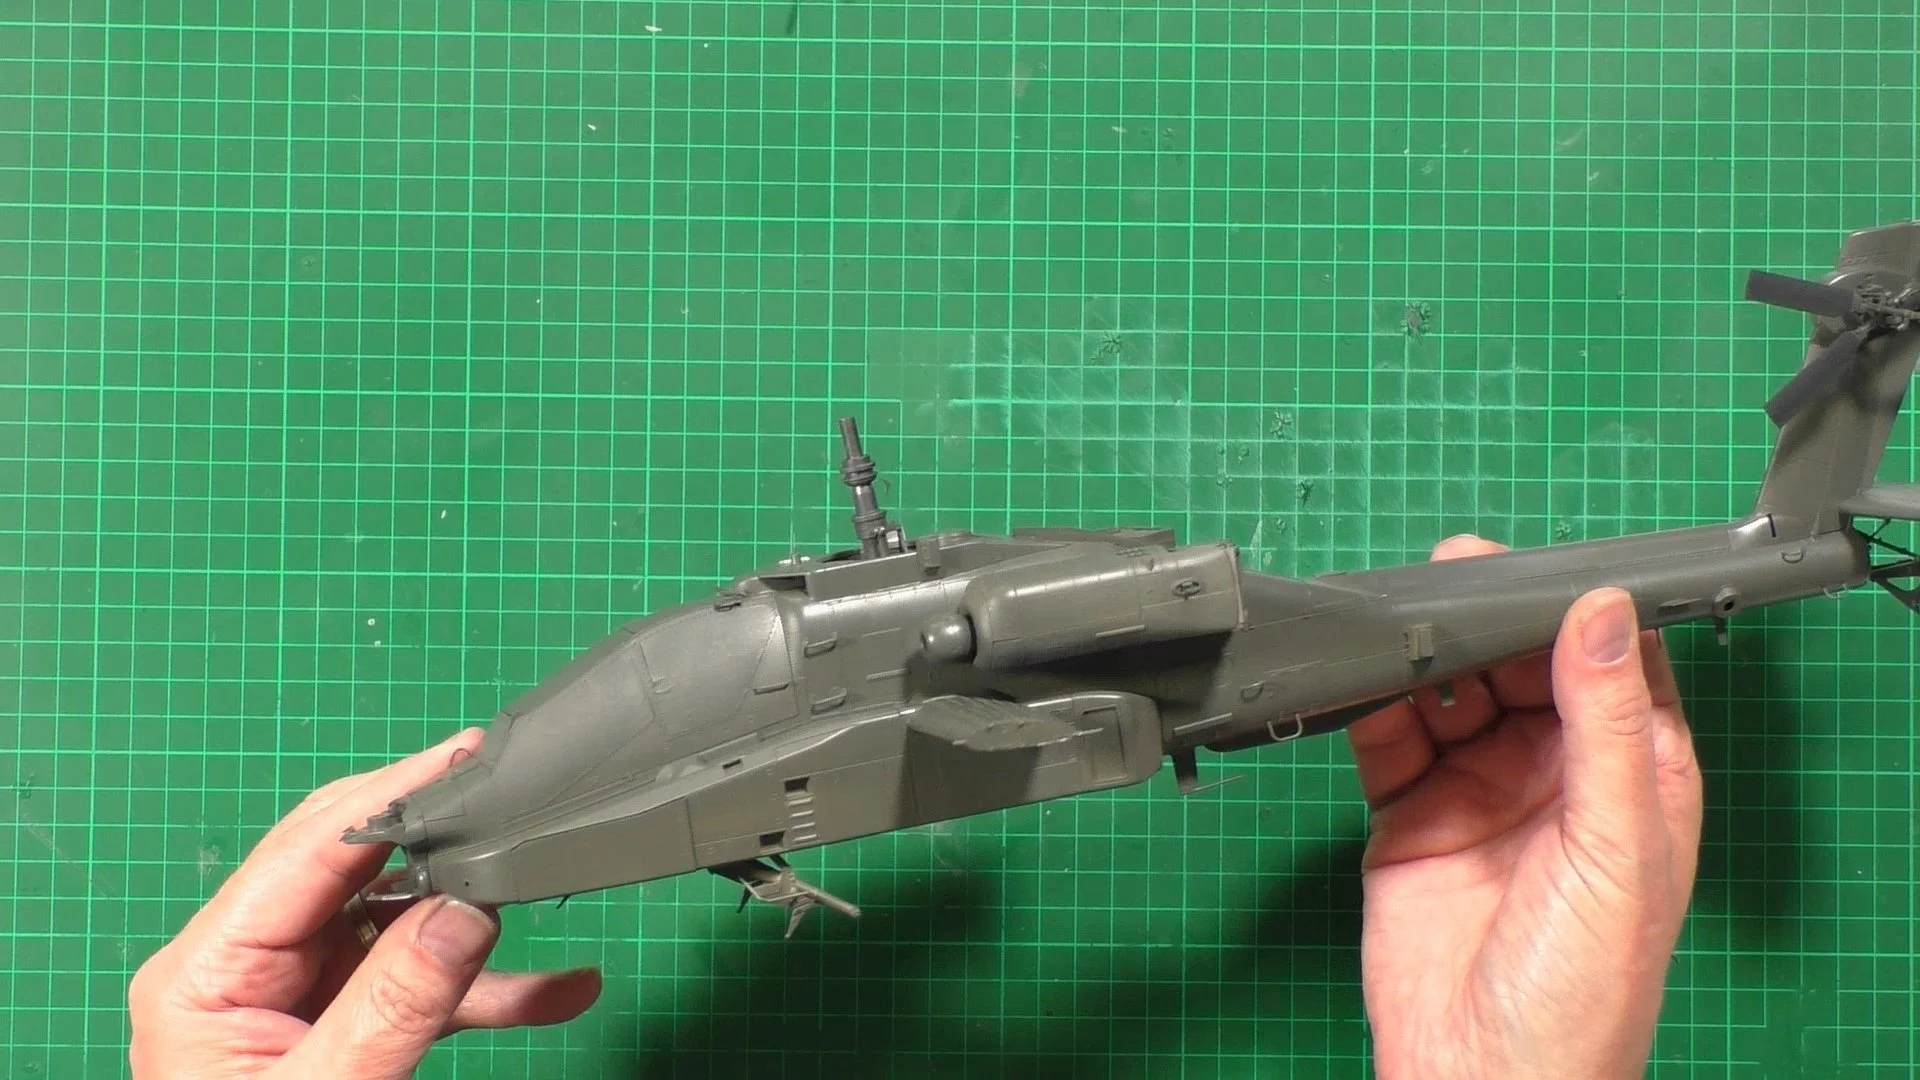
0:00 We use flat black to Give a solid look to the framework of the clear parts and look at the painting ahead. 5:28 We put down a coat of AK Ral Colors RC229 Helo Drab. 14:38 Next we start the weathering of the paintwork with Sand and greys mixed and then thinned heavily to the original Helo Drab. 18:29 We start the post shading with the greys in the center of panels and open areas. 24:48 We make different shades to back up the paintwork to give it the worn weathered look.

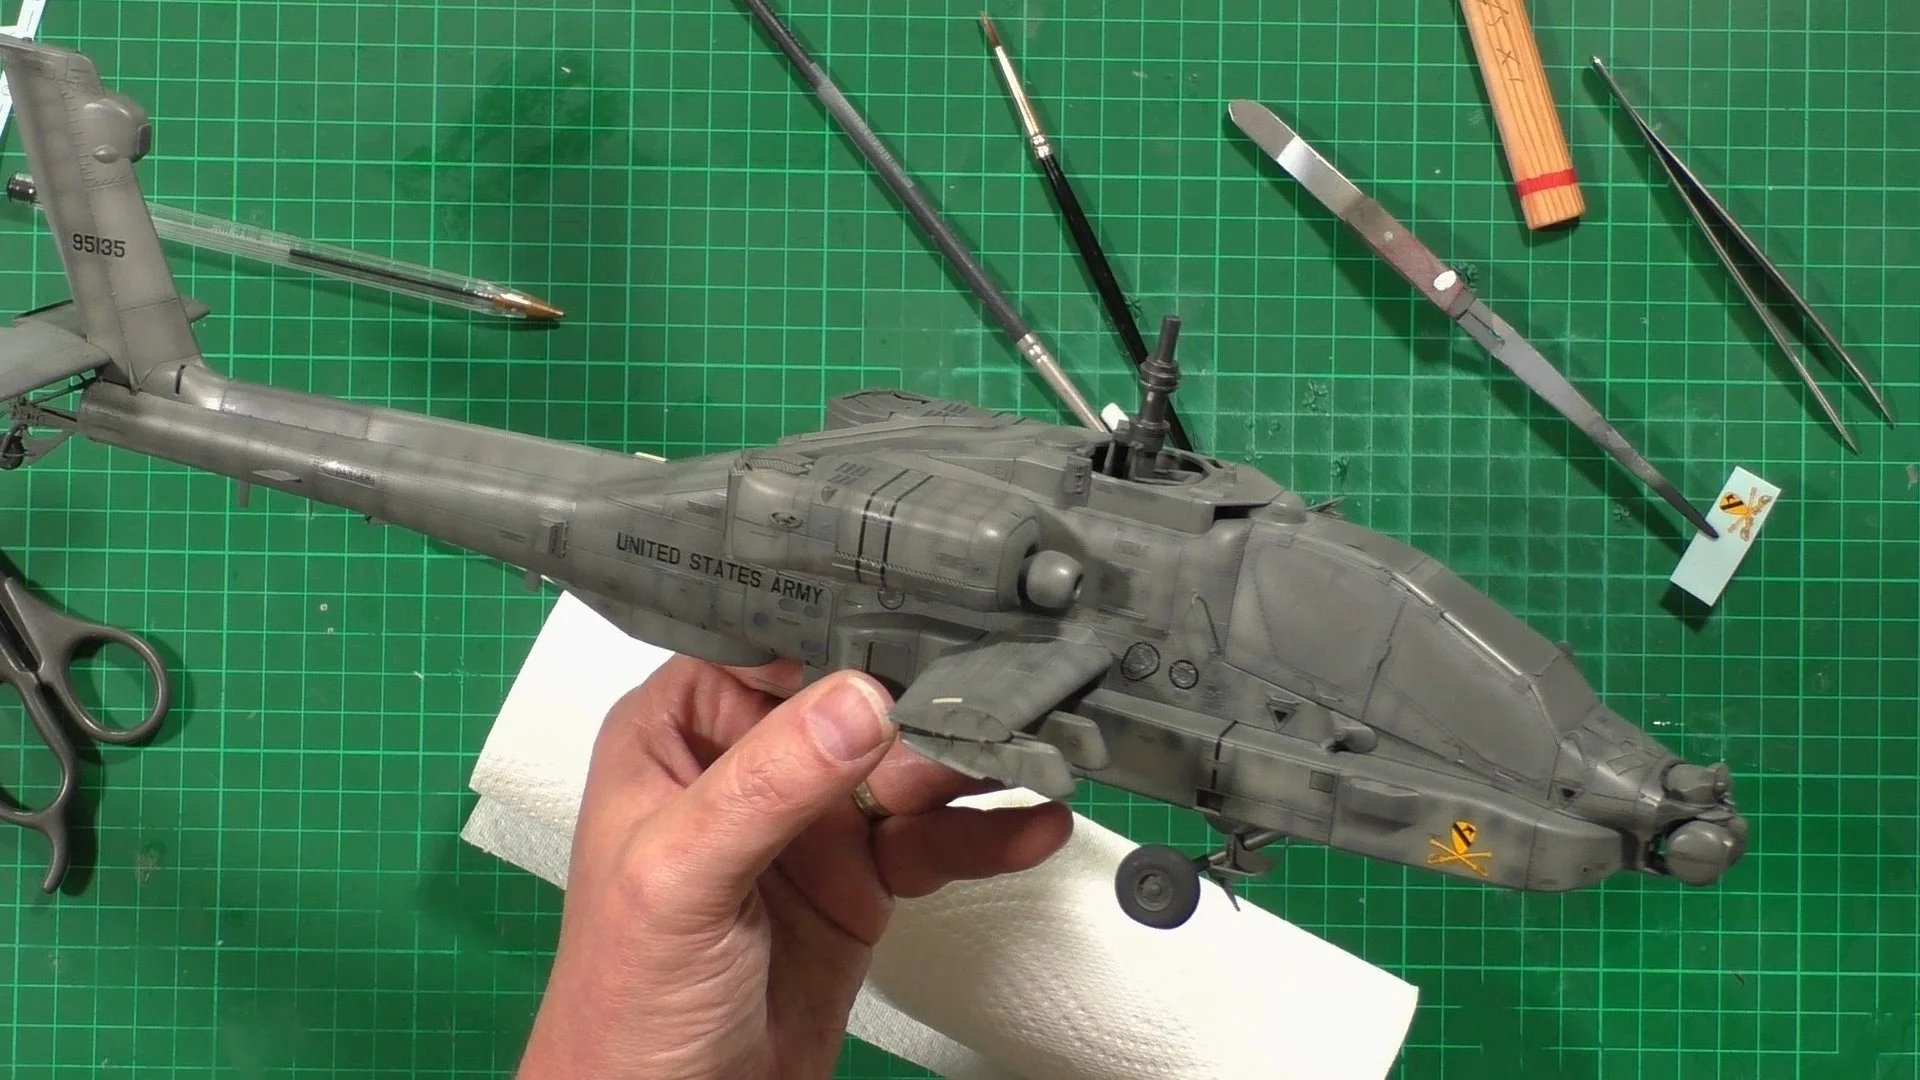
0:00 Here we add the darker shades, adding the warn staining look. 7:16 Next we move back to the beach and add a sand warn look to the center of the panels 15:31 With all the paintwork done we can turn our attention to dealing and yes there's love 100 of them to go on. But it will be worth it to see all the detail stencils data.

0:00 We continue with the decaling (Over 100 of them) and checking for any silvering. 13:25 Finishing off the dealing with the Cavalry marking on the avionics bay doors. 23:92 Into the spray booth for a matt coat to blend in and seal the decals in place. 30:11 Painting and dry brushing the avionics bay boxes and detailing.

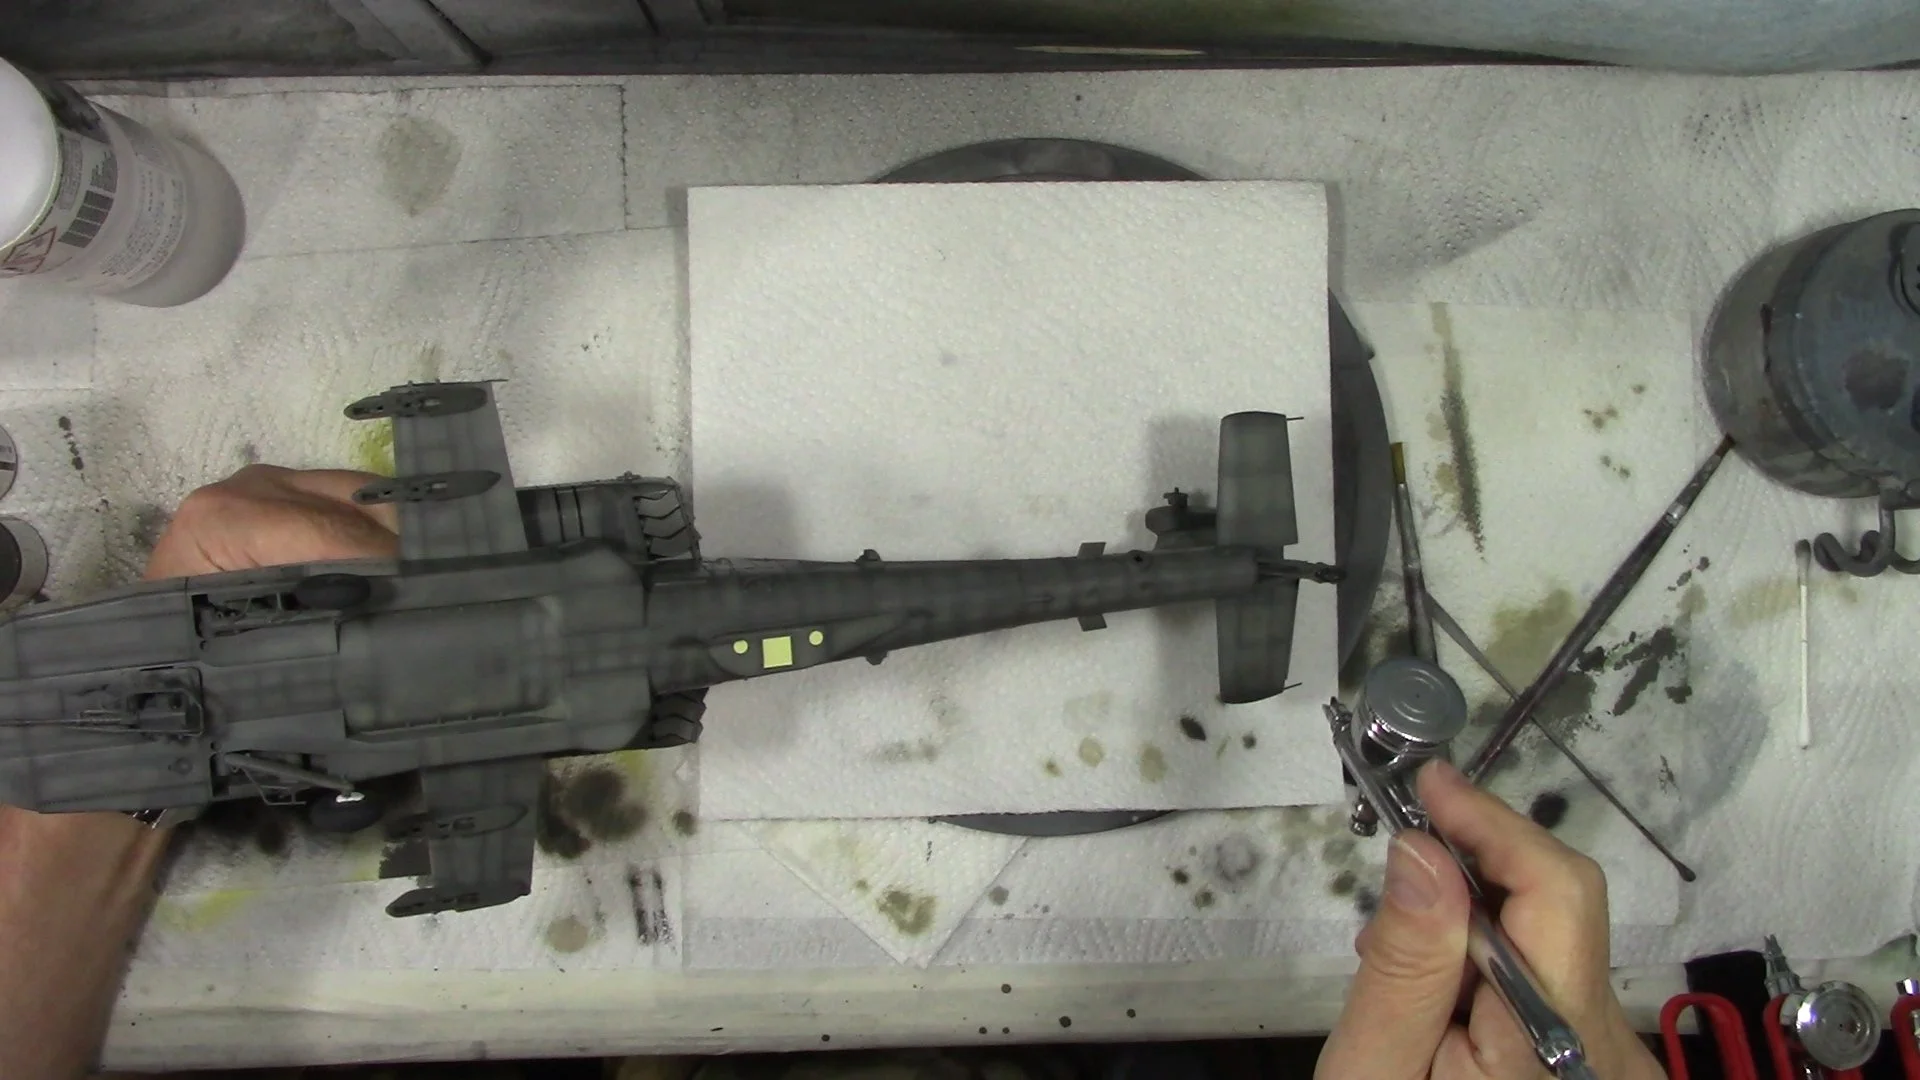
0:00 To start we put down an Ultra Matt finish, this is for sealing and covering the decals but also to give a texture to the clay wash and oils to grip too. 2:49 Next it's time to dry brush the models to bring out the raised details. For this, we use a mix of light grey and Neutral grey. 14:50 Time to Unmask and have a look at the Engines and the cockpit to see how they look and get ready for the weathering. 25:36 Next up it's time to put on a Dust wash to give a weathered look, we use a mix of 90% Flory models FMW009 Dust wash and 10% Flory models FMW005 Sand wash, thinned with tape water and brushed on the model and left to fully dry.
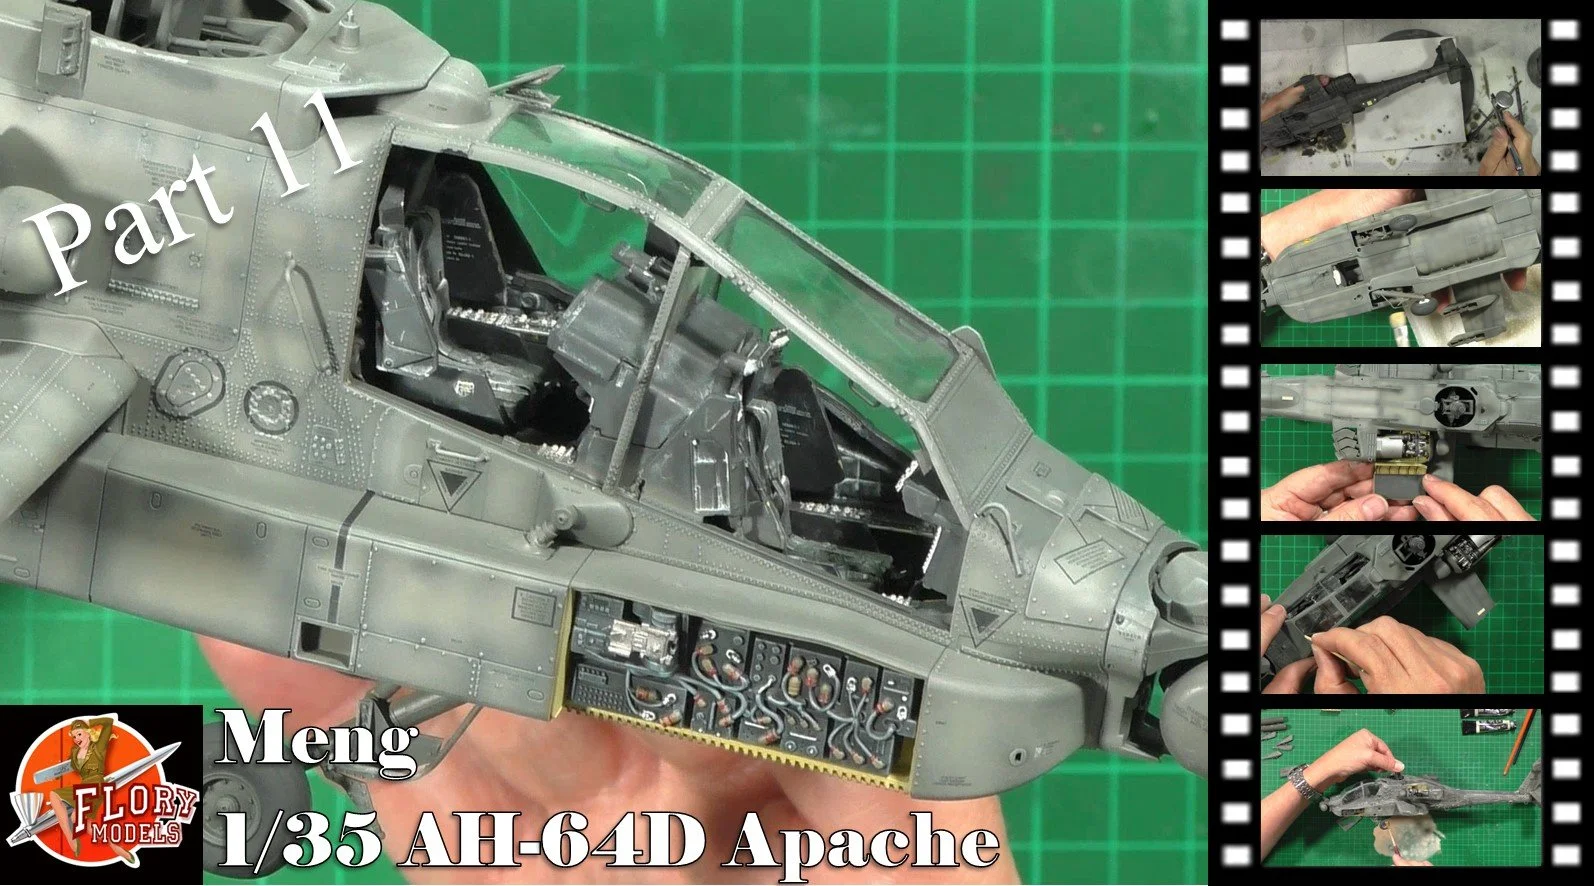
0:00 With the wash dry we can now render the clay wash down to give a wand look, this is done just like working with oils. 7:00 We then use neat oils to drybrush the rotors to give them a worn look and neat oils around the model to give a worn look. 16:13 I'd forgotten to add the black walkways on top of the winglets, so I used a black POSCA pen and simply color the areas in. 20:40 Last up we then make a thin oils wash with ABT005 Shadow to add straining and grime to the riveted areas where it naturally builds up on the aircraft.

0:00 We start on the final assembly and adding all the small parts doors etc. 8:11 Next we install the crew doors and the wipers. 15:11 We make up the Hellfire missiles and install the missile warning receivers. 21:12 We managed to break the static dischargers, so we used thin brass rods to make new ones and install them. 27:18 The final thoughts and reveal. Thanks for watching !!!