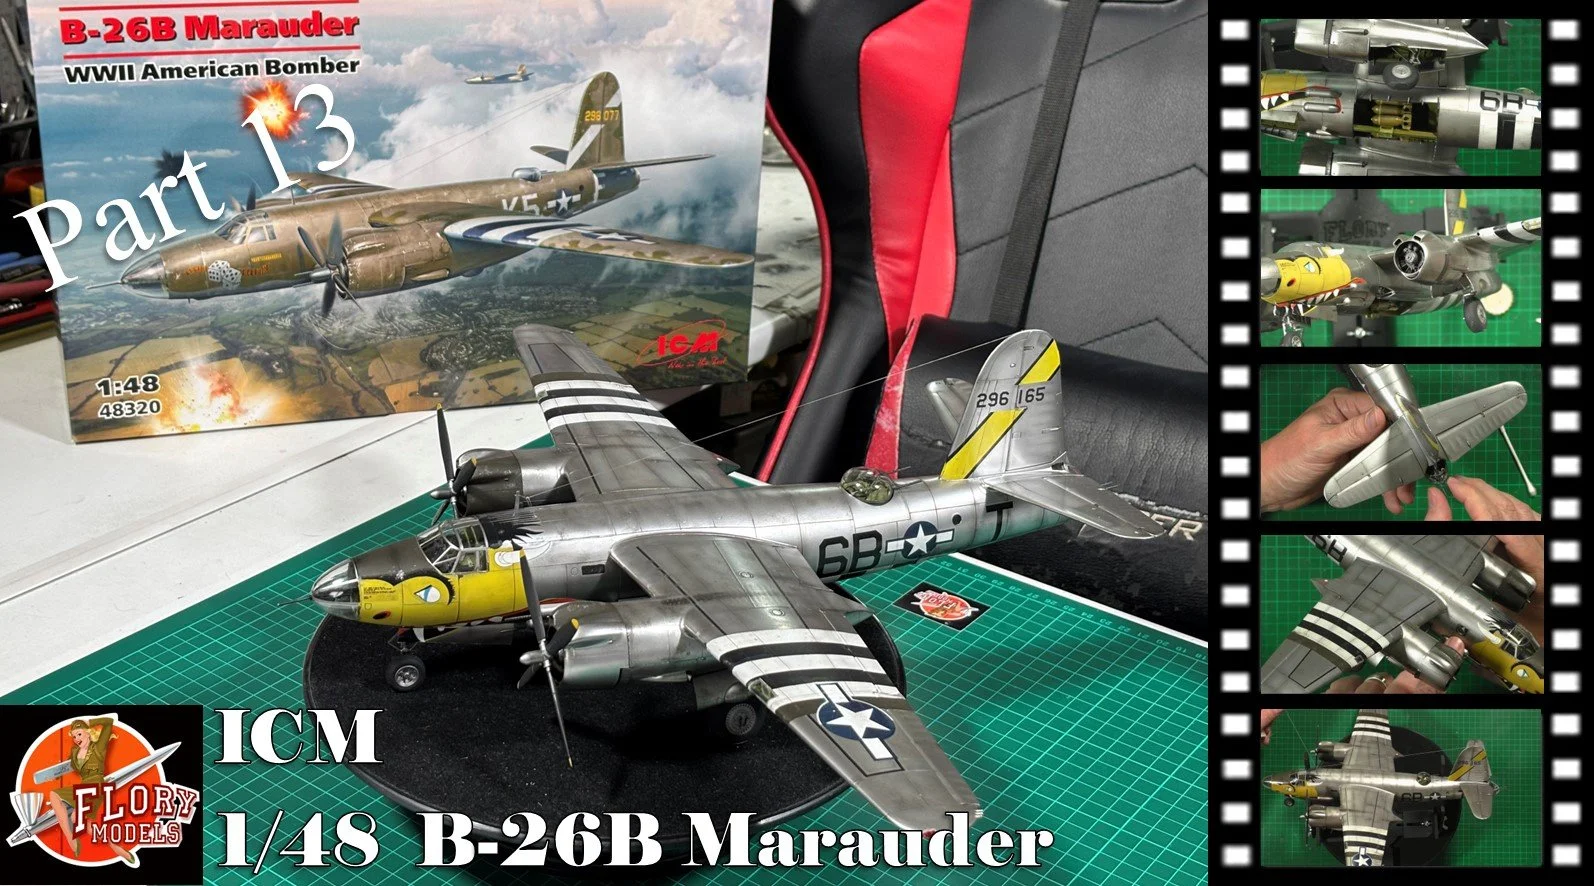
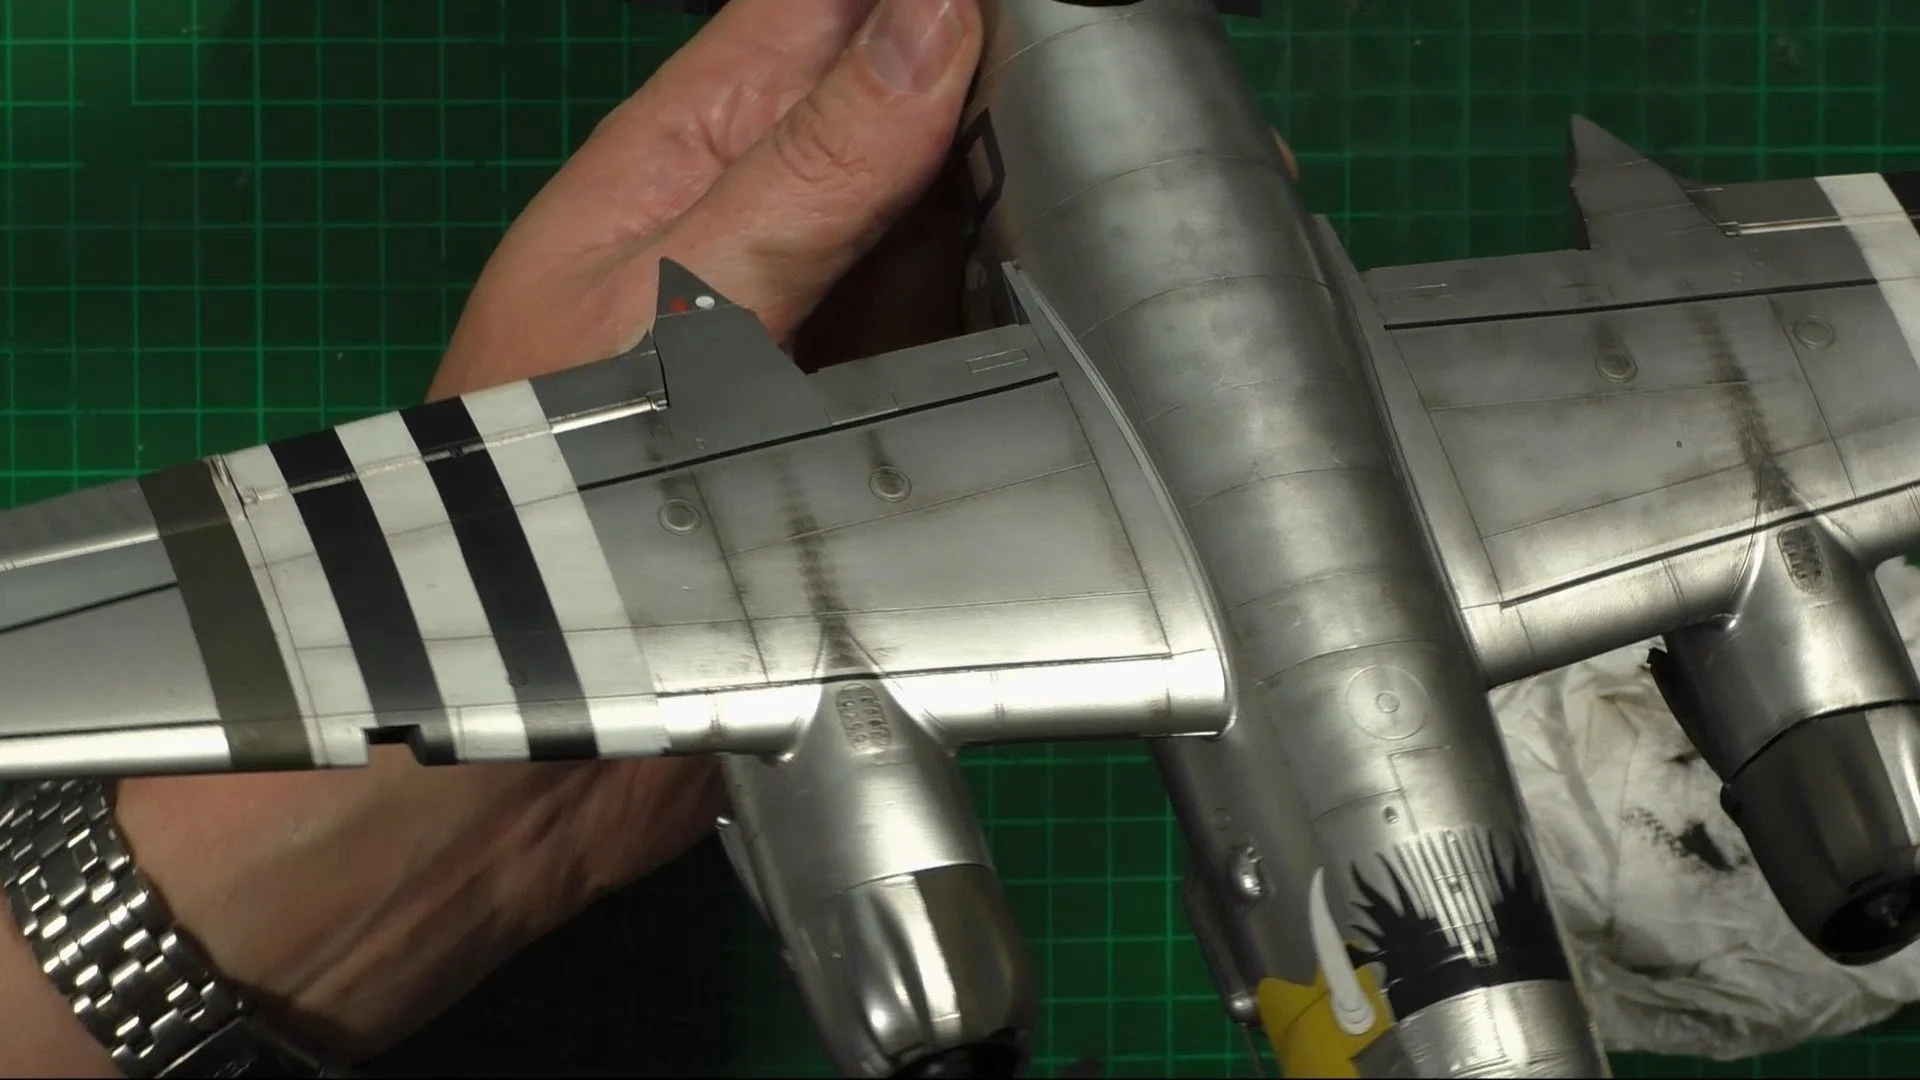
B26B Marauder
Scale: 1/48
Manufacturer: ICM
Parts used:
Main paints used: AK, Markers and Xtreme Metals
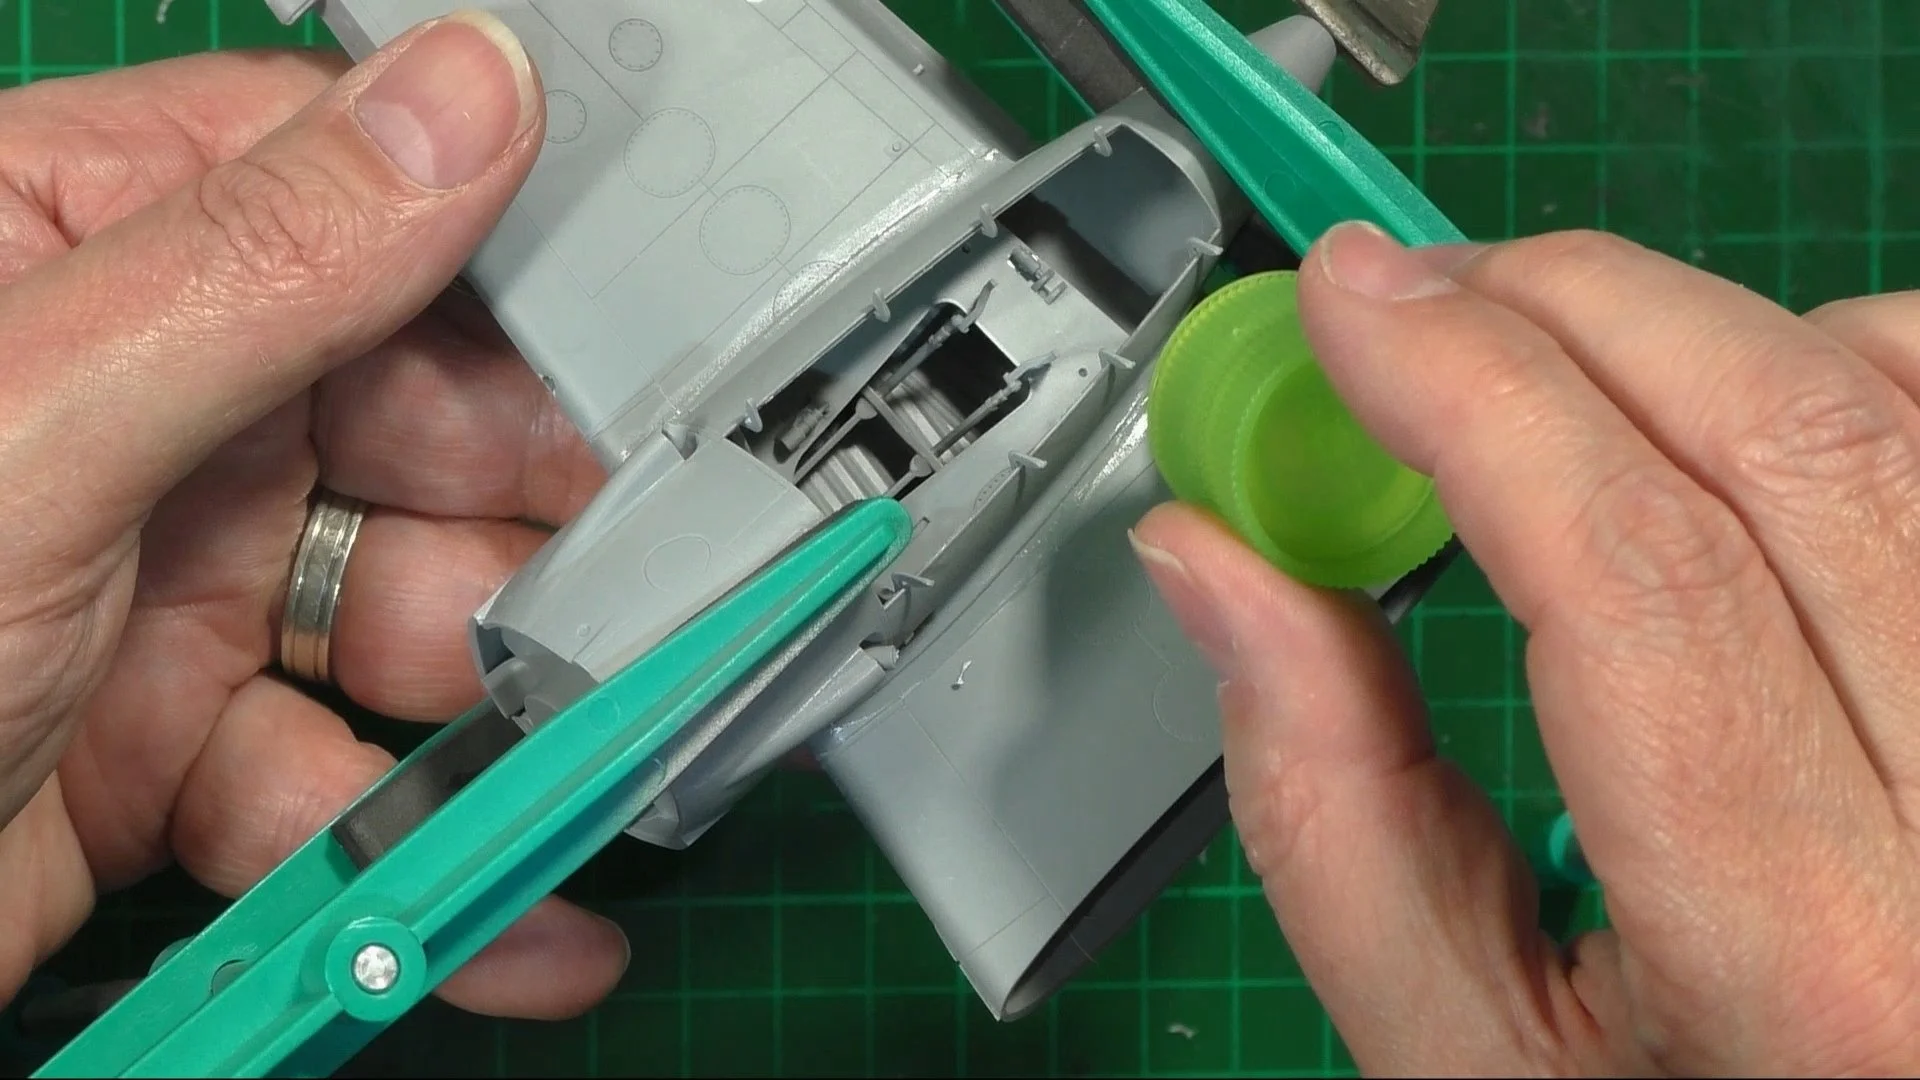
0:00 First up, we look at the build ahead and the aftermarket part we have to improve it. 4:21 We start on the build and work on the interior, Cockpit etc. 17:36 Now it's time to move into the spray booth and put down a coat of interior green AK RC028. 23:54 With the first coat dry we now post shade a thinned down 80% thinners to paint AK RC262 interior dark yellow.

0:00 With the interior painted we now detail with Makers all the black, Metal and colors around the aircraft. 9:10 Next we make up a simple oil wash with 502s Smoke and brush over the entire interior and allow to fully dry. 18:14 Now it's time to dry brush everything. Here we use Mr. Metal color 214 Dark Iron. 28:09 Last we come back in with POSCA and Sharpie Pens to pic out the details.

0:00 First up, we join the two fuselage halves together and to get a better fit we remove the bulkhead location tabs and use CA glue to tack glue in place before glueing with Revell contactor. 15:30 Next we Use CA glue as a filler along all the seams and allow to fully dry. 18:51 Now we work our way through the sanding grits to sand back and polish the surface to a near-perfect finish to give the best possible finish to for the Metal finish that will come later.

0:00 To start we check the seam and the plastic to ensure it's smooth and polished ready for priming. 4:44 Next it's time to pop back all the panel lines and details removed during sanding. 20:21 We add the trial to the bomber and the rudder before building the main gear wheel wells and wings.

0:00 First up, we put the engines together. As we won't be showing them off, we put it all together and then with paint and detail latter in the build. 7:00 Next, we build the engine nacelles ready for the engines later. 13:39 As we'd forgotten to add the nose weight, we now add the weight behind the firewall on the nacelles using lead sheet, approx 30 grams in each. 25:36 Last up, we open up the exhausts with a 1mm reamer. Next, we instal the nacelle to the wing.

0:00 To start, we JIG the kit in place and add the wings in place, then add the clear parts. 7:53 Next, we use the mask set to mask up the clear parts and also pre-paint the internal framework so it shows through. 14:55 Here, we use some foam blocks to make masks for the front wheel wells and the bomb bay. 21:04 Next, we move into the spray booth and start the paint faze. We start be pr painting the interior green over the clear parts and then once dry, we use Tamiya X-1 Gloss black to work as our primer and base coat. 29:26 Here, we move back to the bench and take care of some small sander scratches and marks. 36:00 Now we can put down the wet coat, this is a 75% thinner to 25% gloss black.

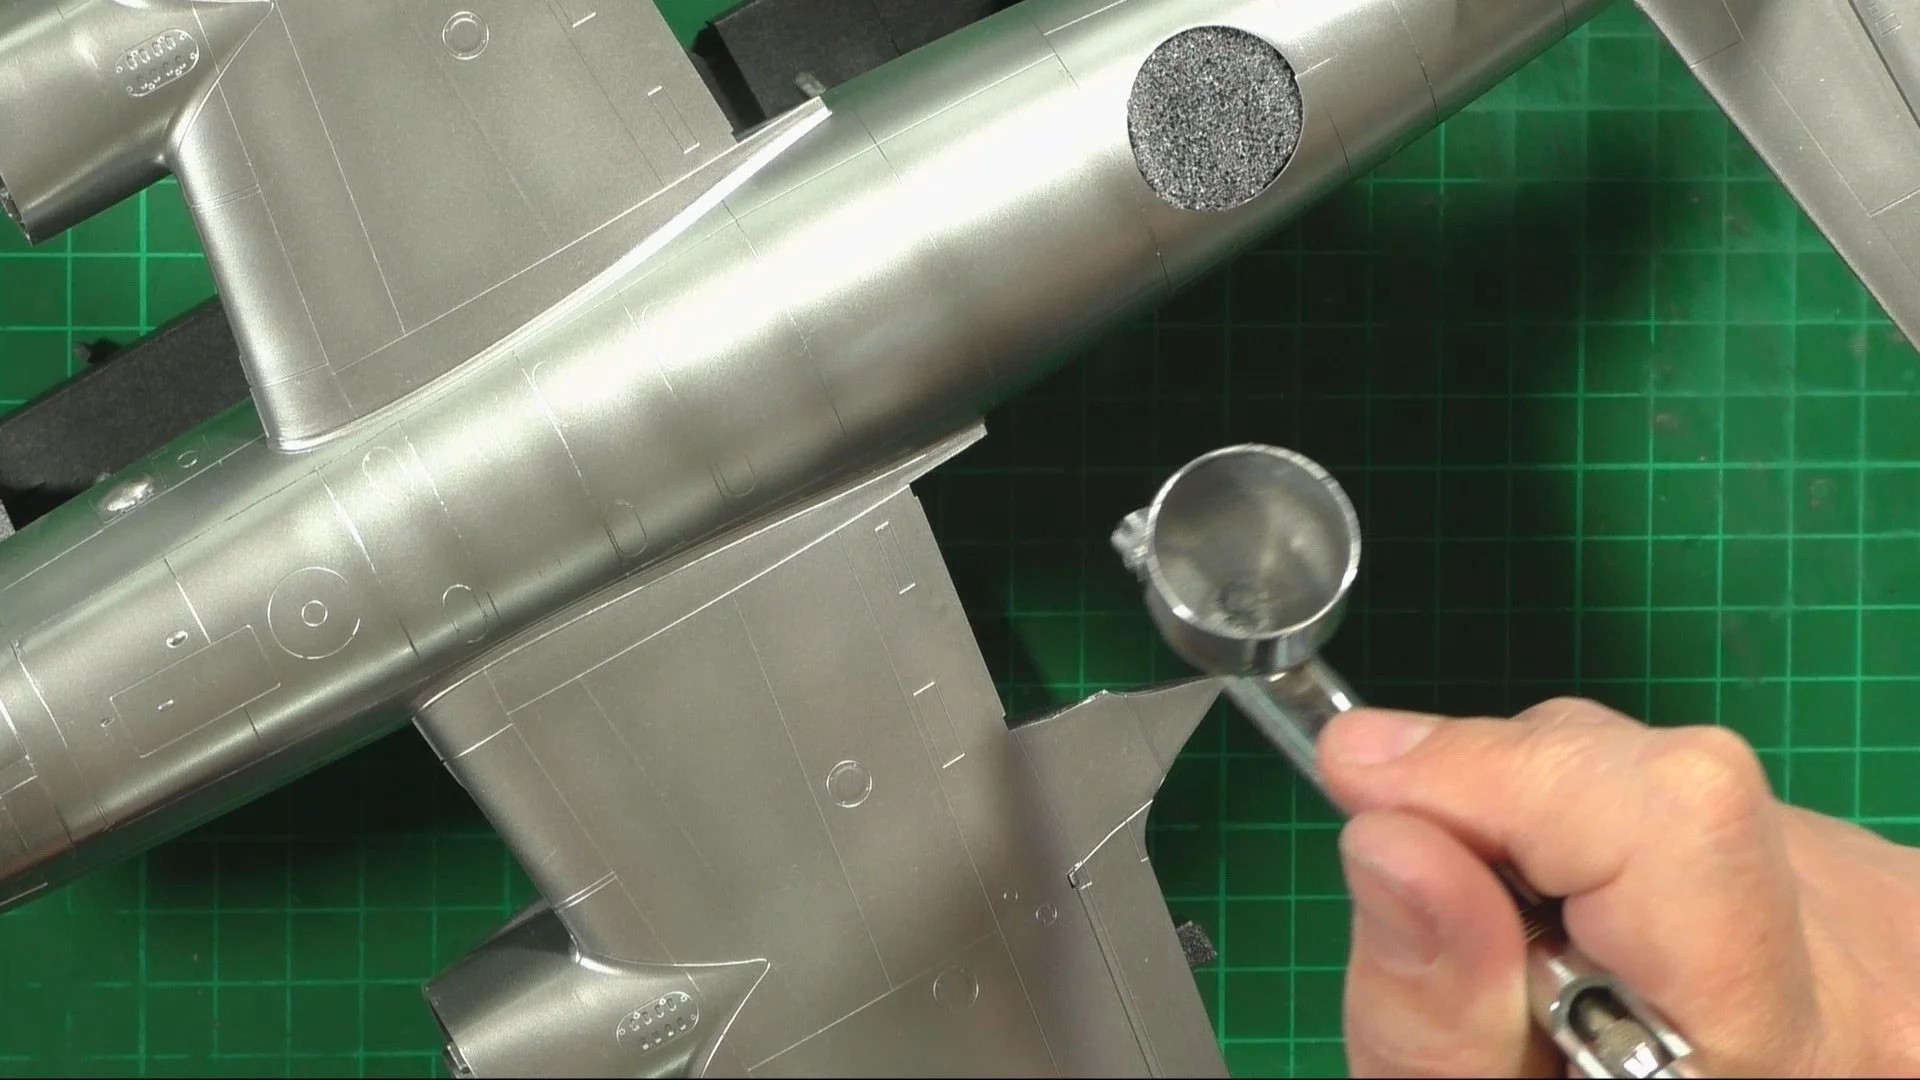
0:00 To start, we give the final wet coat of the black. This is a 75% thinner to 25% Black. 3:01 Now its to to put down the aluminum coat, for this we use Extreme Metals AK 480 Dark Aluminum. 12:59 With that dry we move over to the bench and post shade with the AK479 Aluminum 20:31 Last up and with the Alumimum coats full dry we mask up panels to give the look or replace or repairs to the aircraft skin.

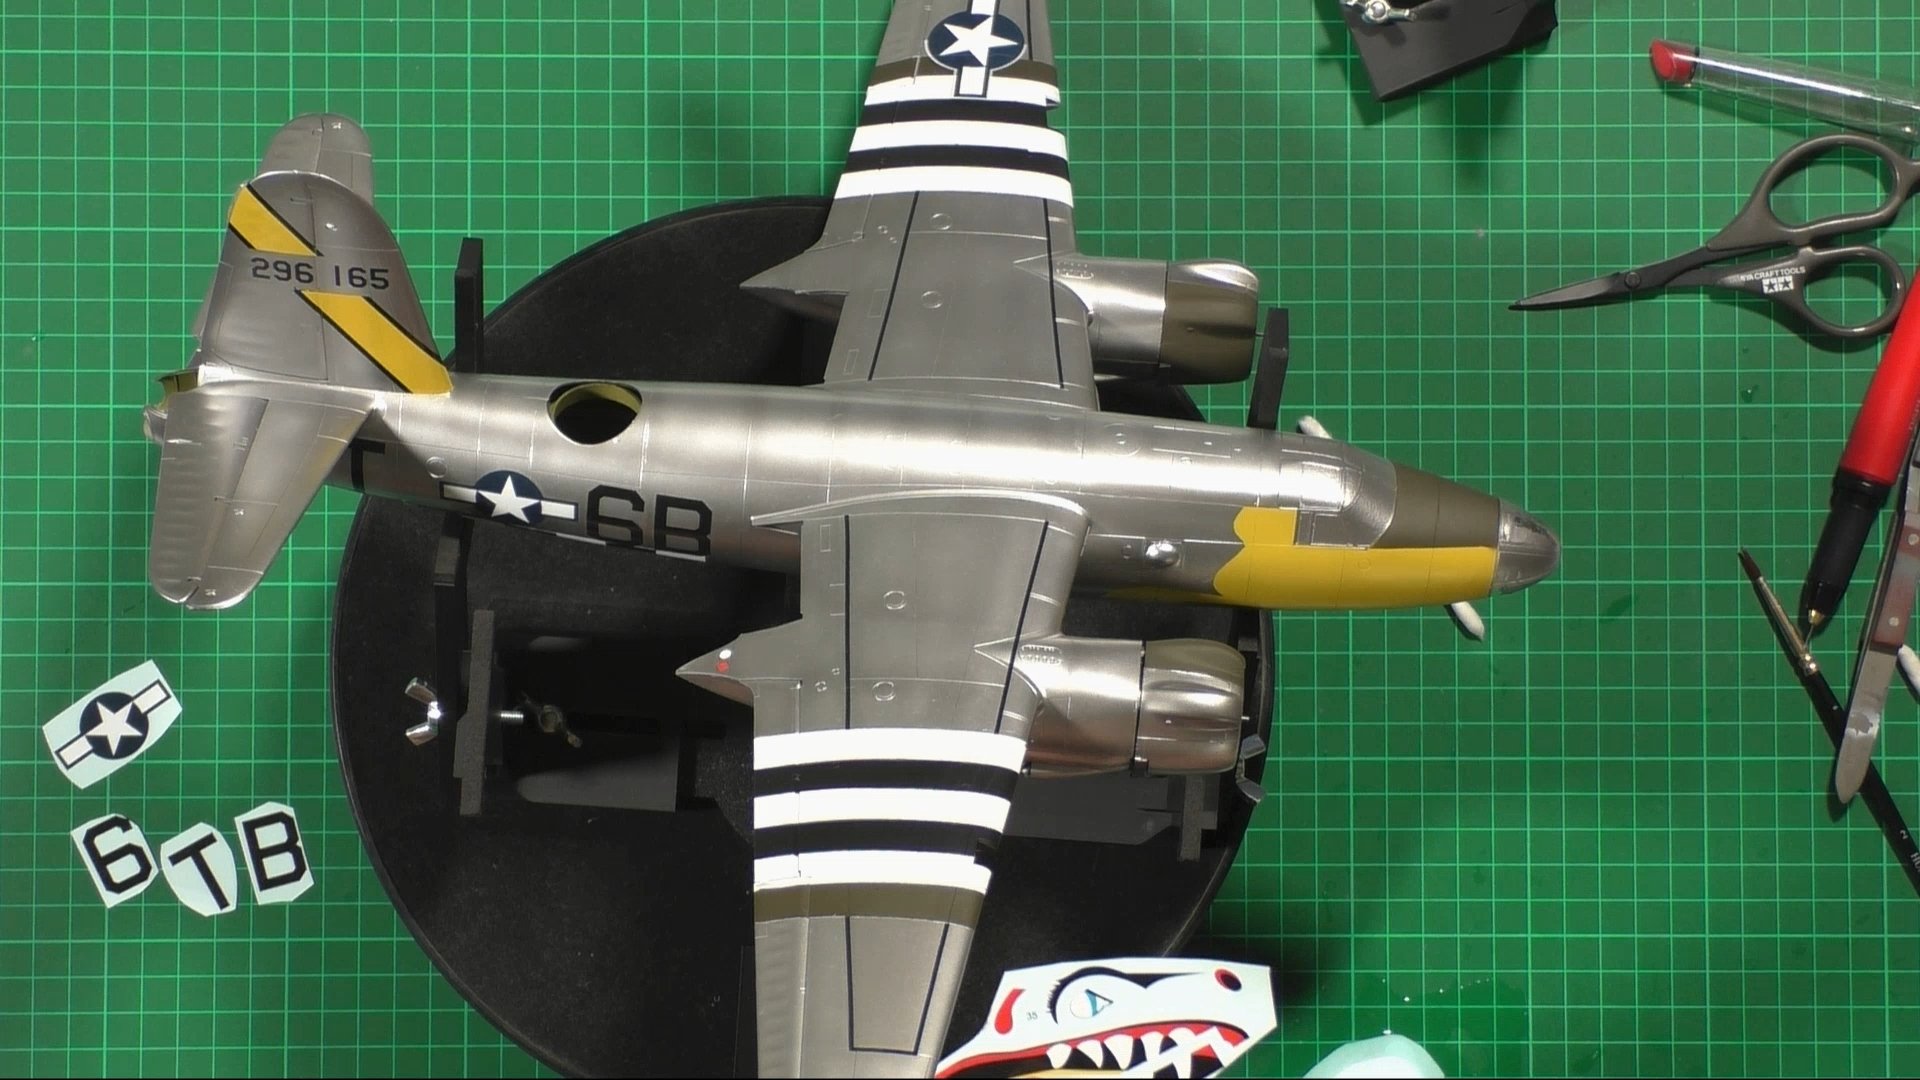
0:00 With a ghost seam appearing along the spine of the fuselage, we sand it back and then polish the area before repainting. 11:54 With the seam taken care of, we turn our attention to the Yellow nose area and make it up ready for painting. 14:14 Next it's time to make a paint mix to match the yellow of the decal. We mix Tamiya XF-4 with Pright yellow to get the color we are after. 23:39 With the yellow on and happy, we next mask up the Black and White Invasion markings along the extra drab bands to the wings and lower fuselage.

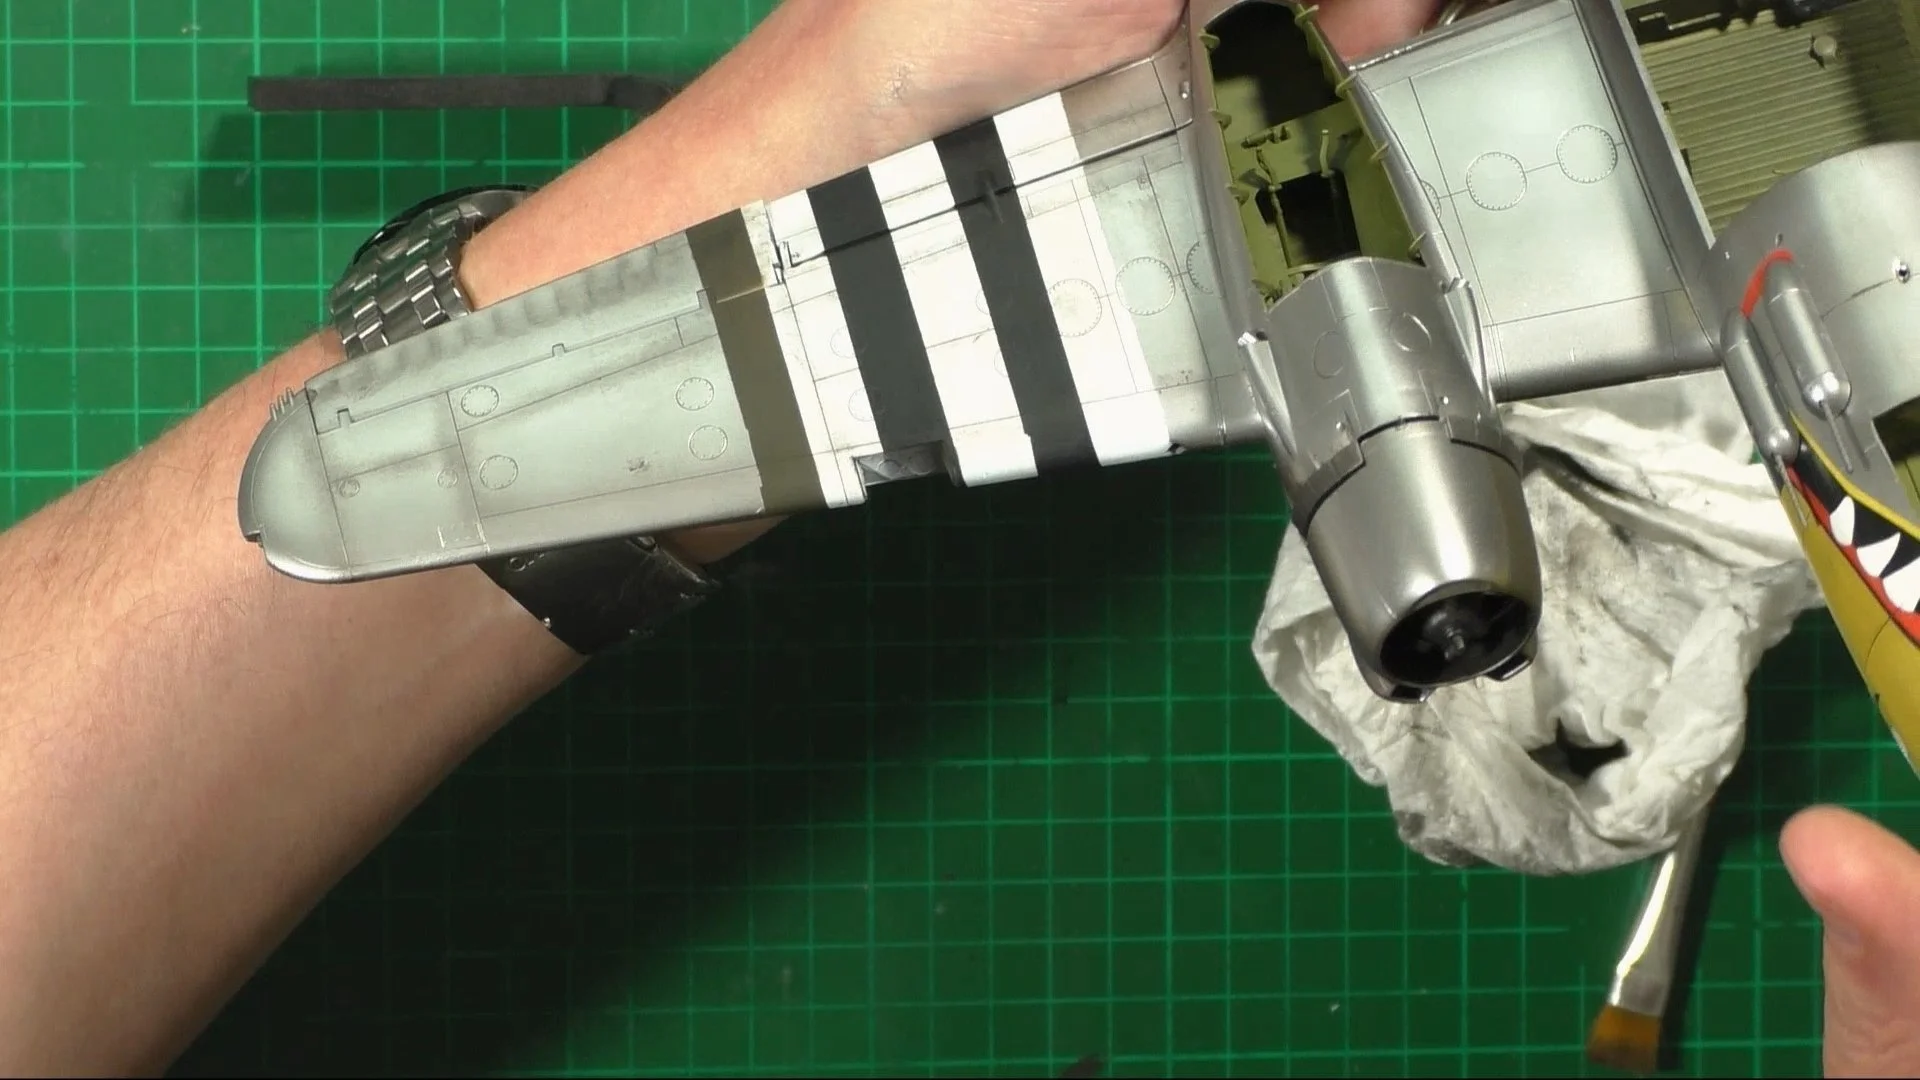
0:00 First up, we put down the White coat for the invasion strips. 5:08 Next, we measure the distance and then mask the white areas, ready for the black. 11:17 With light coats, we put down the black. 15:00 Lastly, we mask the black and white strips for the Olive drad. 17:21 With the Drap dry, we move back to the bench to unmask and see how it turned out. 22:12 Next, we turn our attention to the engines. First, we paint with Mr Metal 214 and then allow to dry and then buff to a metal finish. and then attach to the engine nacelles.

0:00 Here we start on the decalling and but on the walkway lines and insignia. 13:05 That's followed by the aircraft's nose art and markings. 27:20 With all the decals on and dry in place, we use a knife just to score the panel lines in and then a coat of the setting solution to help the decals conform in place.

0:00 To start, we put together the guns and the main gear 5:43 Next up, we put a coat of the glory models dark dirt wash on and let it dry. 9:48 Removing the wash 14:39 Drilling out the new holes in the resin aftermarket wheels. 20:56 Last up, we use oils to weather in and distress the metal finish.

0:00 First, we carry on with the oil weathering and wearing into the metal finish. 6:47 Next, we add chipping to the model with a sponge and super metallic's iron. 16:25 Now it's time to install the gear and the gear doors. 27:57 With the gear drying, we can install the bomb bay racks into position.

0:00 To start off, we attach all the hinges and actuators for the bomb bay doors. And then attach the doors in place. 9:05 Next, we install all the lights in place. 14:21 Now it's time to install the tail gun and the top, and the nose turret barrels. 17:55 Unmasking and bringing the model to life. 28:00 Adding the exhaust stains with Tamiya XF-85 Black. 32:42 Last up, it's time to add the antennae and aerials. 48:08 The final reveal and thoughts.